
The user scrolls the page, and the product rotates, unfolds, or changes shape exactly at their pace. This effect can be built from a sequence of images and a <canvas> element. We will show the entire process: from preparing the animation, through exporting frames, to efficient loading and a version accessible for those who limit motion.
This is a guide to creating websites. AI can help prepare the starting or ending frames, but the scroll effect also works with 3D rendering or regular video.
How It Works Without Technical Jargon
A video consists of many still images. You break it down into numbered frames and then show one of them depending on the scroll position. At the top of the section, we see the beginning, and at the bottom, the end. Canvas is the area of the page where JavaScript draws the current frame.
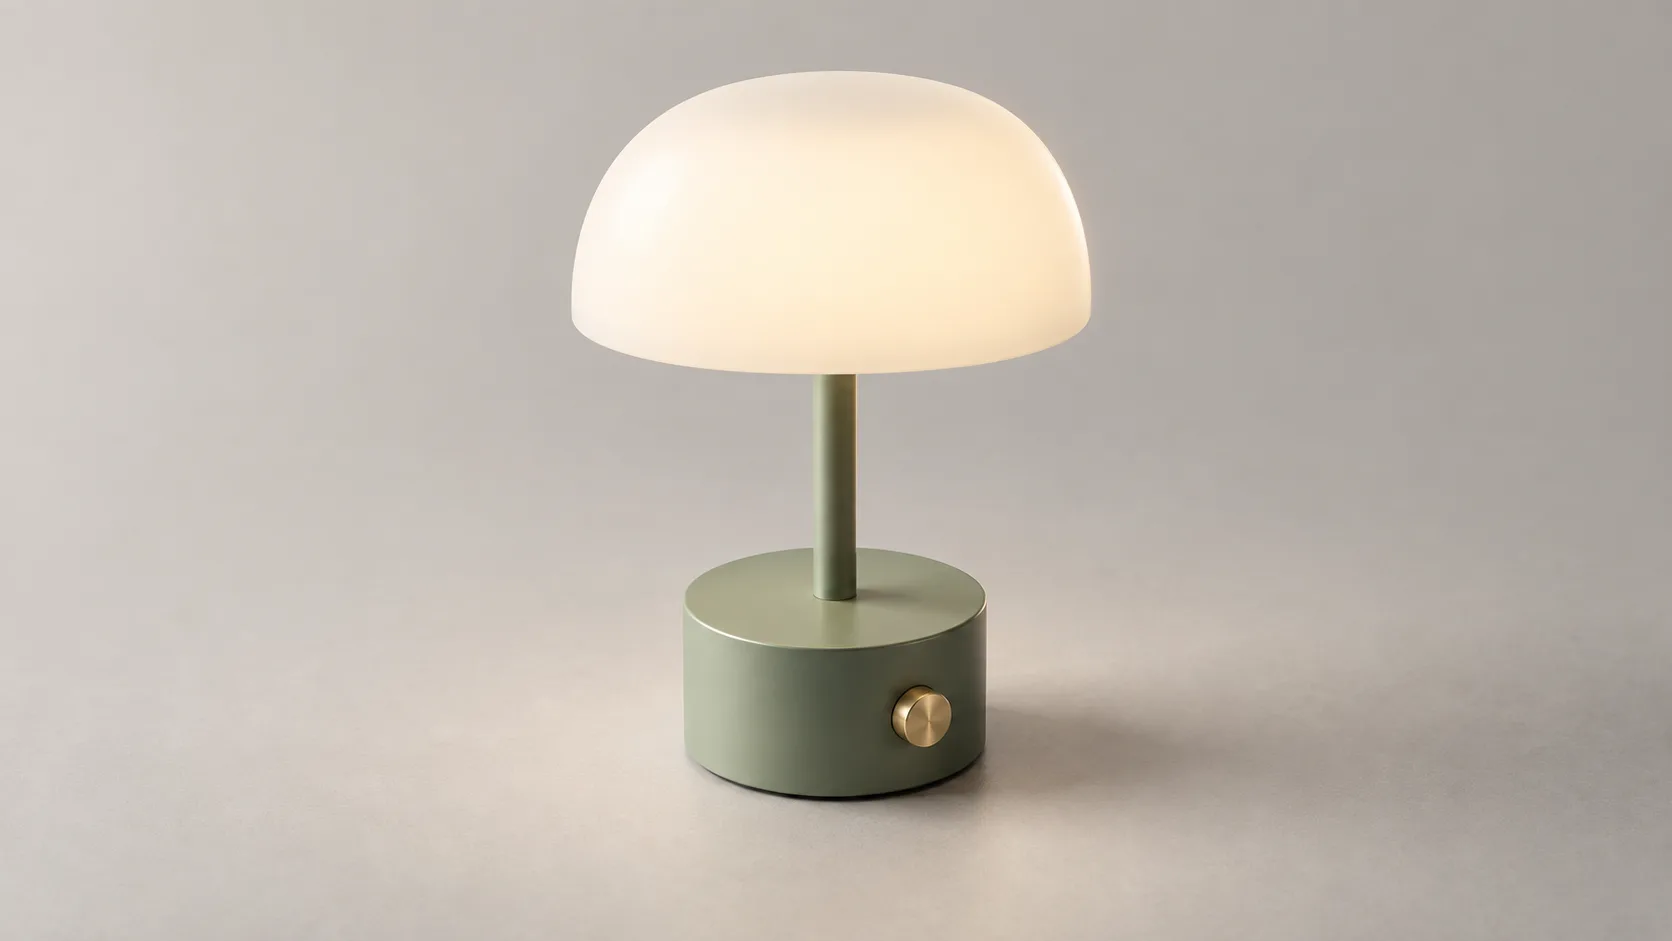
As an example, we will use a lamp: at the beginning, it is folded, and at the end, it shows its internal layers. Two images are not enough for a smooth animation; you also need intermediate frames generated from a video, 3D render, or credible image animation.

1. Prepare an Animation with a Fixed Composition
The product should remain in a similar scale and position. The same camera angle, background, and light direction facilitate a smooth transition. If you generate two images with AI, use the first as a reference for the second and describe only the state change. Then review the intermediate frames: elements cannot suddenly disappear, change color, or jump to the other side.
Use the attached image of the lamp as an exact product reference. Maintain the same camera angle, distance, scale, matte materials, direction of soft light, and uniform background. Show the same lamp as an organized view of the unfolded parts: shade, diffuser, light source, metal stem, and base separated by small, equal distances. Parts maintain a common axis and correct proportions. No additional parts, text, logos, or perspective changes.
2. Export Frames
If you have a ready MP4 file, FFmpeg can extract frames. First, create a frames directory. The following example captures 24 frames per second and saves them as WebP, provided the installed version of FFmpeg has the appropriate encoder:
mkdir -p frames
ffmpeg -i animacja.mp4 -vf "fps=24,scale=1280:-2" -c:v libwebp -quality 78 frames/frame-%04d.webp
On Windows, create the frames folder in Explorer or use mkdir frames in PowerShell. Check the result: do the files start with frame-0001.webp, are they sequential, and is the product not cropped? Do not choose the number of frames out of habit. 120–200 is a starting point for an average section, but the size of all files, device memory, and smoothness on mobile matter.
3. Build a “Scroll Track”
A tall container gives the user space to scroll; the sticky element keeps the image in view. In this example, the section is three screens high, so the animation plays over a distance of about two screens of scrolling.
<section class="scroll-story" aria-label="How the lamp is built">
  <div class="scroll-stage">
    <canvas id="product-canvas" aria-hidden="true"></canvas>
    <img class="scroll-poster" src="/frames/frame-0001.webp" alt="Product lamp">
  </div>
  <div class="scroll-copy">
    <h2>See what's inside</h2>
    <p>The shade, diffuser, and base spread out during scrolling.</p>
  </div>
</section>
.scroll-story { position: relative; height: 300vh; }
.scroll-stage { position: sticky; top: 0; height: 100vh; overflow: hidden; }
#product-canvas, .scroll-poster { position: absolute; inset: 0; width: 100%; height: 100%; object-fit: contain; }
.scroll-stage.is-ready .scroll-poster { display: none; }
.scroll-copy { position: absolute; top: 120vh; left: 8%; max-width: 30rem; }
@media (prefers-reduced-motion: reduce) {
#product-canvas { display: none; }
.scroll-stage .scroll-poster { display: block; }
.scroll-stage.is-ready .scroll-poster { display: block; }
.scroll-story { height: auto; }
.scroll-stage { position: relative; height: 65vh; }
.scroll-copy { position: static; margin: 2rem auto; }
}The text remains regular HTML, so it can be highlighted, read by screen readers, and found in search engines. The canvas serves only a visual role. Do not hide key information solely in frames.
4. Load Only What Is Necessary
Do not load and decode hundreds of images before showing the page. Just the memory for 160 unpacked frames at 1920 × 1080 with four bytes per pixel is about 1.24 GiB, even if the WebP files take up much less on disk. Show the poster first, download frames close to the current position, and keep a limited buffer. On mobile, use a smaller set of images.
Scroll handling should calculate the frame number, and drawing should occur at most once per screen refresh. Do not run an infinite loop rendering the same image. The outline:
const section = document.querySelector('.scroll-story');
const canvas = document.querySelector('#product-canvas');
const ctx = canvas.getContext('2d');
const total = 144;
let requested = 0;
let painted = -1;
let scheduled = false;
const cache = new Map();

function sizeCanvas() {
  const box = canvas.getBoundingClientRect();
  const dpr = Math.min(devicePixelRatio || 1, 2);
  canvas.width = Math.round(box.width * dpr);
  canvas.height = Math.round(box.height * dpr);
  painted = -1;
  onScroll();
}

function progress() {
  const box = section.getBoundingClientRect();
  const range = Math.max(1, box.height - innerHeight);
  return Math.min(1, Math.max(0, -box.top / range));
}

function onScroll() {
  requested = Math.round(progress() * (total - 1));
  if (!scheduled) {
    scheduled = true;
    requestAnimationFrame(draw);
  }
}

async function draw() {
  scheduled = false;
  if (requested === painted) return;
  const index = requested;
  let image = cache.get(index);
  if (!image) {
    image = new Image();
    image.src = `/frames/frame-${String(index + 1).padStart(4, '0')}.webp`;
    await image.decode();
    cache.set(index, image);
  }
  if (index !== requested) { onScroll(); return; }
  const scale = Math.min(canvas.width / image.naturalWidth,
                         canvas.height / image.naturalHeight);
  const width = image.naturalWidth * scale;
  const height = image.naturalHeight * scale;
  ctx.clearRect(0, 0, canvas.width, canvas.height);
  ctx.drawImage(image, (canvas.width - width) / 2,
                (canvas.height - height) / 2, width, height);
  painted = index;
  document.querySelector('.scroll-stage').classList.add('is-ready');
}

addEventListener('scroll', onScroll, { passive: true });
addEventListener('resize', sizeCanvas);
sizeCanvas();
This is a short skeleton, not a complete library: in production, add error handling for downloads, limit the size of cache, and fetch several neighboring frames. Also, test for phone orientation changes. In case of an error, leave the poster visible.
Does It Always Have to Be Canvas?
No. The <video> element with setting currentTime may suffice for a simple sketch, but time jumps require decoding and do not always give a perfect indication of a single frame. A sequence of images provides a more direct frame selection at the cost of many files and memory. Simple fading or moving an element can be done with native CSS animations dependent on scrolling. Choose the method after testing on a real phone.
Testing Before Publication
- Run the page on a slow connection: the first frame and text must appear quickly.
- Scroll very slowly and abruptly in both directions; there should be no blank frames.
- Check a phone with less memory and touch scrolling.
- Enable system motion reduction: the page should show a static image and full content.
- Measure file sizes and memory, not just appearance on a powerful laptop.
If you want to prepare frames with AI, our guide on creating a coherent city diorama will also be useful: the same angle, scale, and light are the basis for both techniques.
Comments (0)
No comments yet. Be the first!