
One recording can become several versions of the same scene. In Higgsfield Genjutsu, in Object Swap mode, you can specify the source film, reference photos, and describe the changes: who appears, what they hold in their hand, where they stand, and when the image should change. The hardest part is not coming up with a spectacular effect but writing the changes so that the hands, face, camera movement, and subsequent locations remain consistent. Below, we go through this from the beginning, using our own example.
The illustrations in this guide are original conceptual images prepared to explain the scene. They are not frames from a finished film nor a promise of identical results. The features and interface of the tool were checked on October 4, 2026; available settings may change.
What does Object Swap actually do?
First, you have an existing film: someone is moving, speaking, turning their head, gesturing, and the camera captures the action. Object Swap creates a new version of the image using this footage. In the prompts, you specify the elements to be swapped. This is a different starting point than generating a film from scratch. You don’t need to reinvent the choreography, but you must describe precisely what should remain from the source recording.
In our exercise, the heroine appears throughout the clip. For the first four seconds, she holds lipstick in her right hand. Then both hands are empty. The makeup studio is first lit by daylight, later by night, and at the end, it changes into a living room. The camera and rhythm of movement should come from the source film. This is an ambitious example, as it combines identity, prop, lighting, and background in one generation.
Before you write the prompt: plan four states of the scene
It’s best to sketch the scene as a timeline. This way, the sentence “change the background to night” does not leave the model to decide whether it should happen from the beginning, halfway, or after a few seconds. In a film lasting 21.17 seconds and 24 frames per second, the plan might look like this:
| Range | Person and hands | Place and light | What should remain |
|---|---|---|---|
| 0.000–4.000 s | The same heroine; lipstick only in the right hand | Makeup studio during the day | Movement, gestures, speech, and camera path |
| 4.000–8.125 s | The same heroine; both hands empty | The same studio during the day | Position of the person and layout of the room |
| 8.125–10.583 s | The same heroine; both hands empty | The same studio at night | Layout of the studio, framing, and movement |
| 10.583–end | The same heroine; both hands empty | Night living room | Scale of the character, rhythm of the shot, and source sound |
We treat the intervals as beginning inclusive, end exclusive. The frame starting at 4.000 s already belongs to the state without lipstick. This notation removes ambiguity at the scene boundaries. If your application shows time as seconds:frames, at 24 fps the values 4:00, 8:03, and 10:14 correspond to frames 96, 195, and 254, respectively. The last value is 10.5833… s, so it has been rounded in the table. Always check the actual number of frames in the file: 21.17 s may only be a rounded reading.
1. Prepare the source film
It’s easiest to work with one continuous shot where the face, hands, and prop do not disappear behind the body or furniture for long. Record a few seconds of extra footage, then trim the material to the selected range. In our example, the source is about 21 seconds, 24 fps, and a horizontal frame. Save a copy of the original before sending it to the tool.
- Watch the entire movement without stopping
Pay attention to which hand the original prop is in, whether the person switches it between hands, and whether the camera briefly loses them from the frame. If a hand disappears behind their back for two seconds, the model will have to recreate its appearance without a good reference.
- Check the file technique
Read the length, number of frames per second, orientation, resolution, and sound. Editing at 24 fps requires boundaries on a grid of 1/24 s. Do not enter the value “8.125 s” for material at 25 fps, expecting the same frame.
- Choose transitions that can be viewed
Establish the moment the object disappears, the transition from day to night, and the change of the interior. Select frames where the movement is clear; a quick hand rotation or full face covering makes it difficult to assess what the model actually did.
If someone is speaking in the source, decide on the sound immediately. Keeping the original voice with a new character can intentionally create contrast but may also distract. The command to swap the image does not automatically mean a change in voice. A new voice requires a separate, authorized process and subsequent lip-sync control.
2. Prepare references so that each has one role
A reference is not an “inspirational picture” but a cue for a specific part of the task. A photo of a person serves for the face and hairstyle, a photo of the lipstick for the shape of the object, and a photo of the studio for the layout of the place. If you throw all features into one collage, it will be harder later to indicate what the model should correct.
| Attachment | Role in our exercise | What not to transfer |
|---|---|---|
@Video 1 | Full recording: time, gestures, camera work, and original soundtrack | Appearance of the elements indicated for swapping |
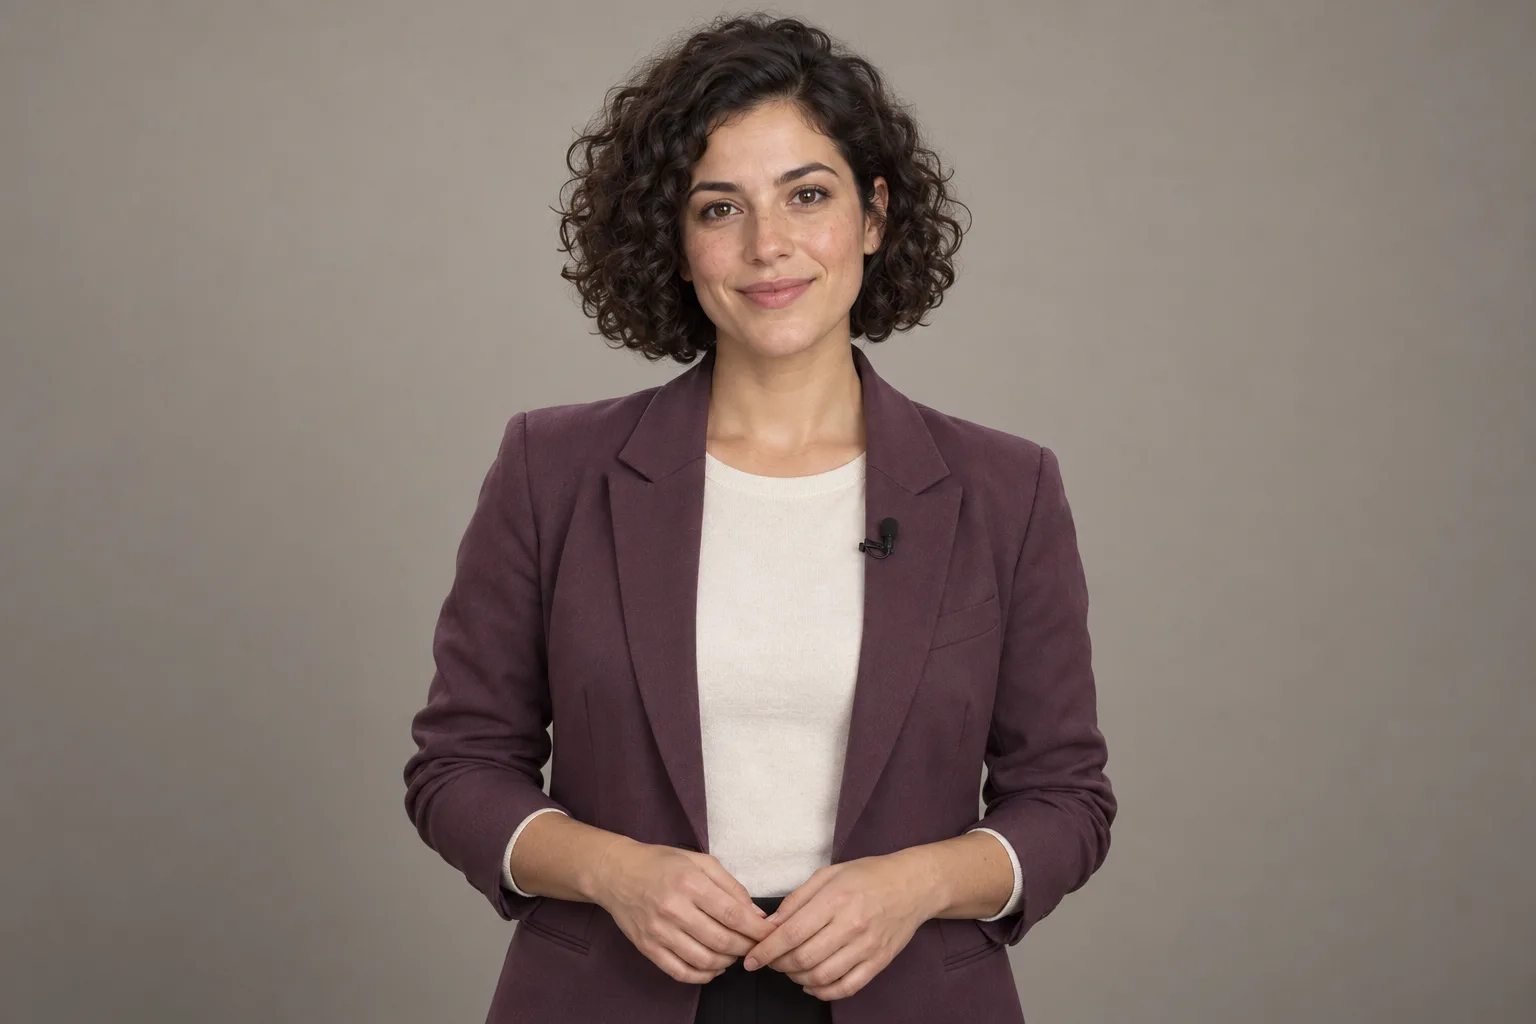
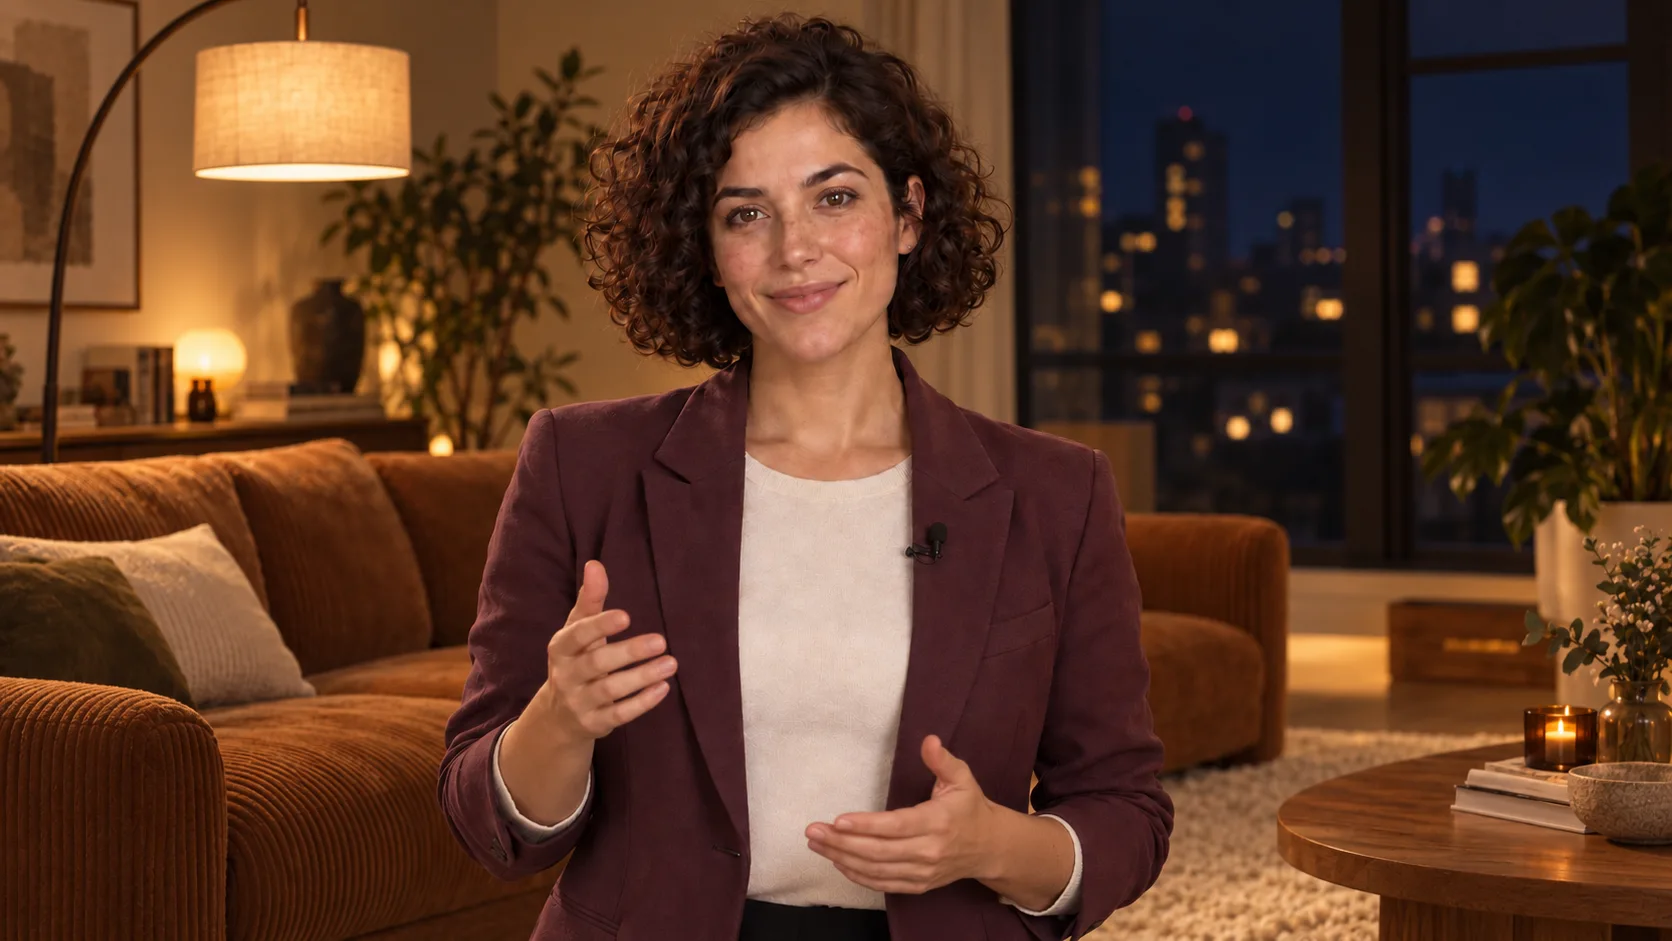
@Image 1 | The same adult woman, face, hair, blazer, and microphone | Neutral background of the portrait |
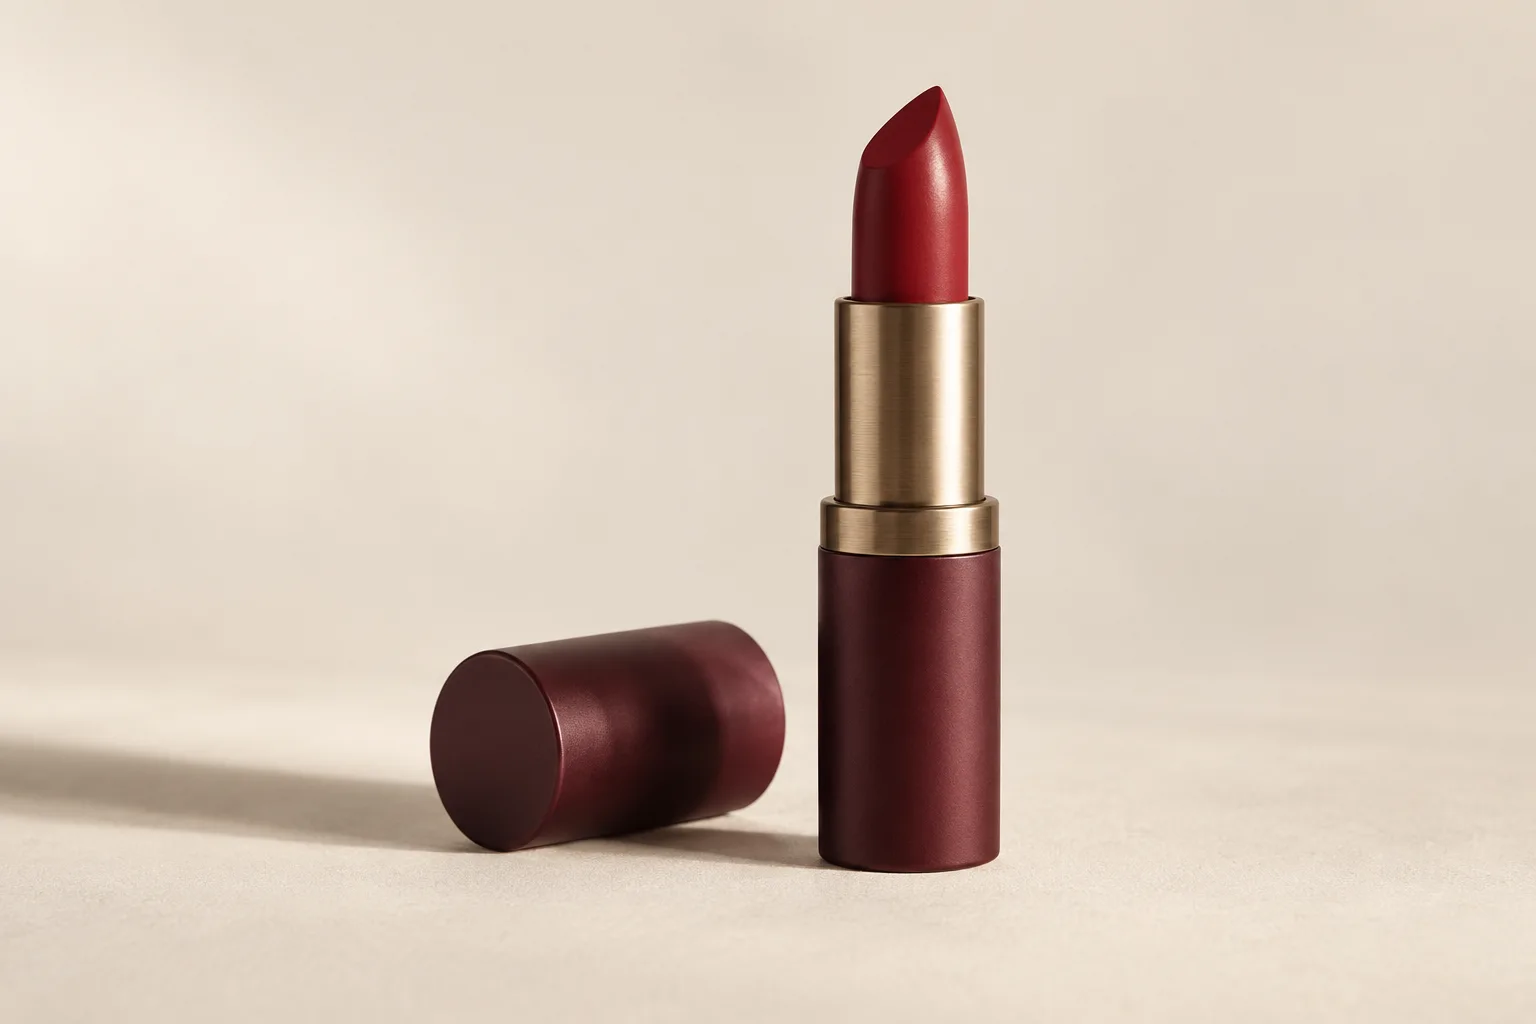
@Image 2 | Open lipstick, proportions, and color | Background of the product photo |
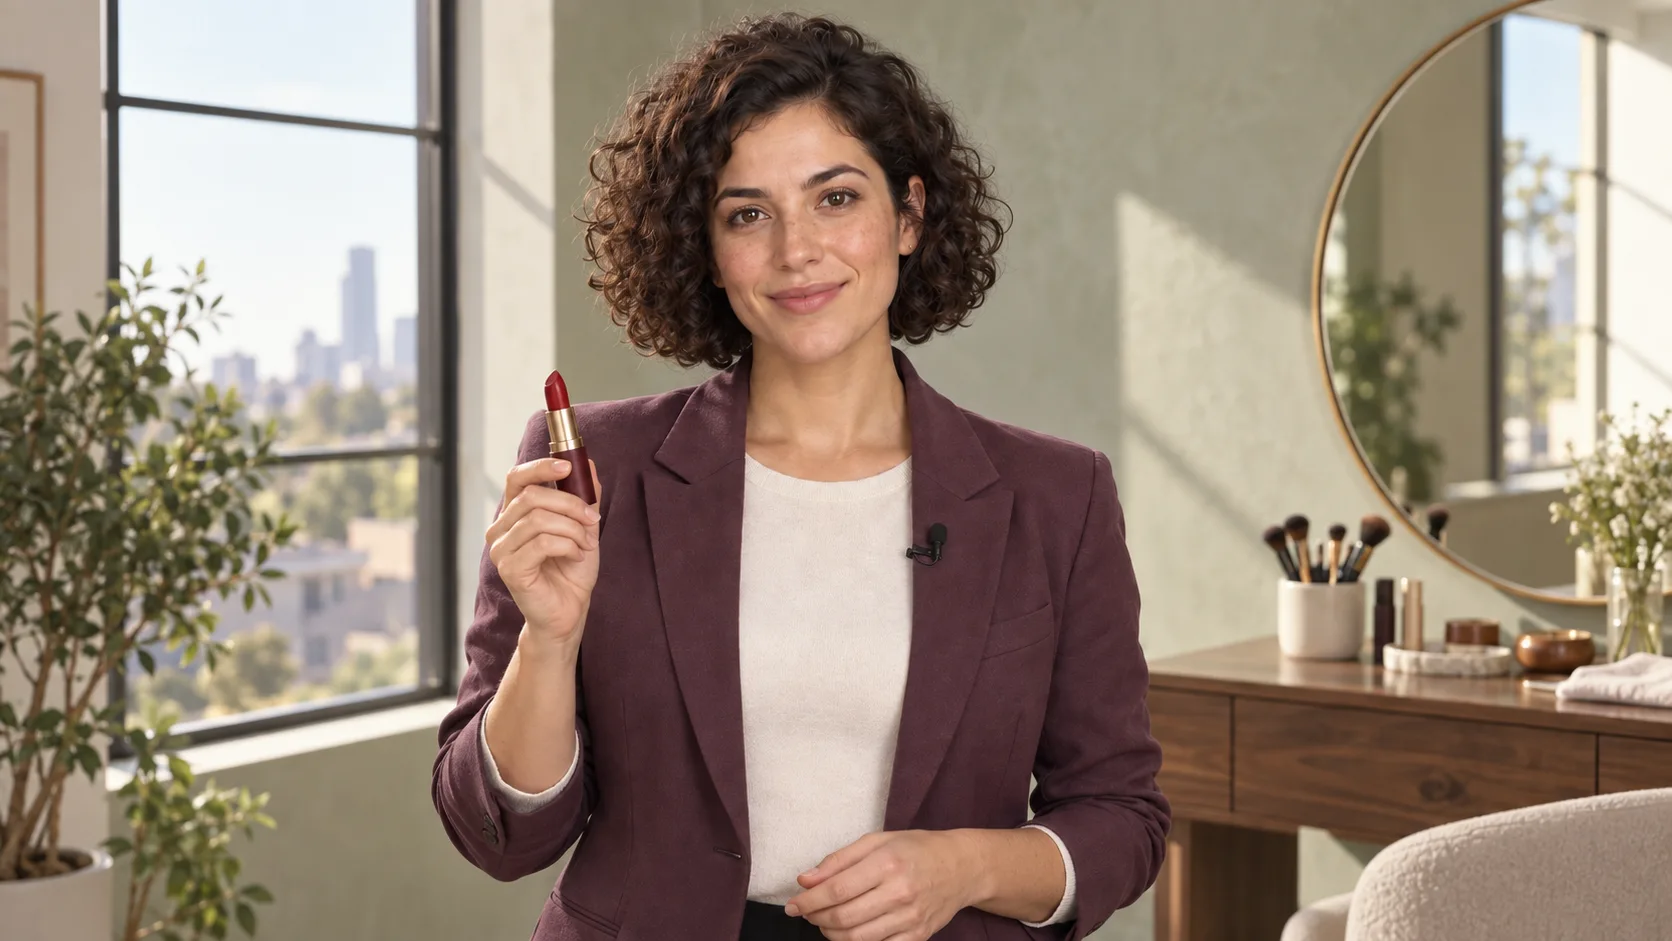
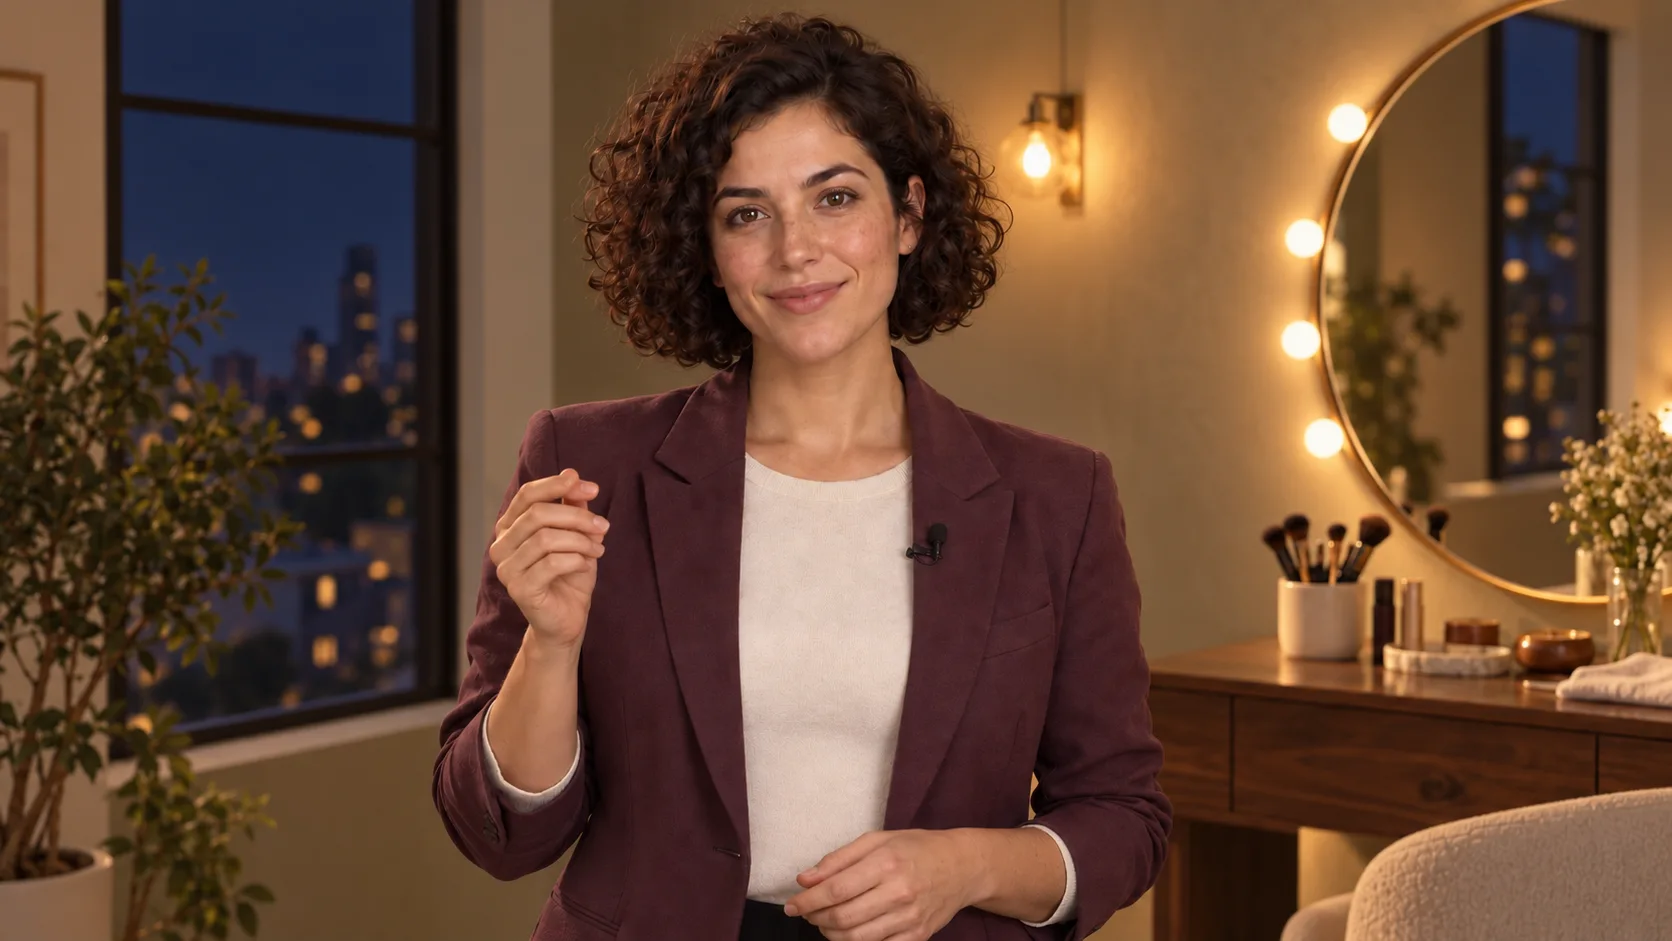
@Image 3 | Makeup studio: walls, window, mirror, and vanity | Daylight after 8.125 s |
@Image 4 | Night living room: sofa, table, lamp, and window | Characters or props from this illustration |
The labels @Image 1 and @Video 1 are examples. In the current interface, check how the tool labels attachments and match the prompt to the actual order of submission. There is no magic rule that “the character must always be first”; what matters is consistency of labels with files. One good photo of the character can be sufficient in a simple shot, but with profiles and face covering, additional angles will be useful, provided the interface allows them to be added.
3. Open Object Swap and set the task
Open Higgsfield, go to Genjutsu, and select Object Swap. Add the film to the source material field and the photos to the reference field. Turn on the prompt if the interface requires a separate switch. Choose the highest necessary resolution available in your plan and check the summary before starting. Settings, length limits, and availability of 1080p depend on the current interface and plan; do not assume that every version of the service has the same options.
If the panel suggests a ready preset, compare its description with your own plan. With several changes at precise time boundaries, your own prompt gives greater control over the assumptions. However, it is not a guarantee of hitting the frame: the generative result always requires viewing.
4. Write the prompt: first the map, then the timeline
A good prompt does not summarize the entire story of the film. It is a specification of differences from the source. Name each file, describe the changes in time intervals, and then lock the most important elements that should remain. Instead of “give her lipstick,” write “the lipstick is only in the right hand from the first frame to frame 95; the left hand is empty throughout the film.” When changing the interior, describe not only the furniture but also the windows, floor, and light visible during the camera rotation.
TASK: Create a new version of the image from the film @Video 1. Maintain the length and order of shots from the source material, camera movement, framing, rhythm of gestures, head turns, facial expressions, and lip movement. Keep the original soundtrack. Change only the elements listed below.
REFERENCE MAP: @Image 1 – identity and appearance of the same adult woman throughout the film: olive skin, short dark curls, natural skin texture, plum blazer, cream top, and a small microphone pinned to the lapel. Do not copy the background of the portrait. @Image 2 – only the open red lipstick in a burgundy package with a gold ring, without a brand. @Image 3 – layout of the makeup studio: light sage walls, walnut vanity, round mirror, large window. @Image 4 – night living room: cognac sofa, wooden table, light carpet, arched lamp, and dark window.
THE WHOLE FILM: Replace the person in @Video 1 with the woman from @Image 1. Place her exactly in the position and scale of the source person. The same woman retains her identity, hairstyle, clothing, and microphone from start to finish. Her lips, eyes, hands, and body follow the movement from the source film. Remove the original object from the right hand; it cannot return in any frame. The left hand is empty in every frame.
0.000–4.000 s: In the right hand is one open example of lipstick from @Image 2. The lipstick is positioned between the same fingers and moves with the hand. It does not appear in the left hand, on the counter, or in the mirror reflection as a second object.
FROM 4.000 s TO THE END: From the first frame of this interval, the lipstick is no longer present. Both hands are empty until the end of the film. Do not replace it with any other object.
0.000–10.583 s: The location is the studio with @Image 3. Maintain the recognizable layout of the window, mirror, and vanity, even as the camera moves. From 0.000 to 8.125 s, daylight comes through the window. From 8.125 s, the window shows night; the studio is lit only by warm lamps and bulbs near the mirror. After the change to night, maintain night without returning to daylight.
FROM 10.583 s TO THE END: In the first frame of this interval, the studio gives way to the living room with @Image 4. Maintain the size and position of the woman and the camera path. Show the living room consistently in every direction of the camera. Outside the window remains night, and the interior is lit by warm lamps. The studio does not return.
LOCK: Do not add other people, products, texts, or logos. Do not change the pace of gestures, camera movement, cuts, or the order of scenes from @Video 1. Match shadows and reflections to each room. Maintain the natural skin texture and the image of an ordinary camera. If the audio remains original, do not create a new voice or sound effects.
5. Why do these small formulations matter?
“Right hand” and “left hand empty”
Without specifying both hands, the model may move the lipstick, clone it, or leave a remnant of the old object. When a person makes a gesture close to their torso, also check reflections in the mirror and brief moments when fingers pass in front of the face. The swap should track the grip, not just the approximate position of the prop.
Time boundaries and the instruction to maintain state
The instruction “night from 8.125 s” tells when the change begins. The addition “maintain night until 10.583 s” indicates that it must not return to day. Both sentences are necessary because removing the bright studio may still affect later frames. At a sharp boundary, check the previous and next frames in the edit. The model may shift the transition by a few frames; if precision is critical, prepare separate variants or refine the transition in the editor.
Constant character, variable room
Changing the background should not refresh the face or outfit. Repeating “the same woman throughout the film” and listing several distinguishing features helps assess continuity. When changing rooms, check contact points: feet with the floor, shadow under the chin, hair edge against the window background, reflection in the mirror. That’s where it’s most visible whether the new image really holds to the movement from the film.
6. Watch the result like an editor, not just as a viewer
First, watch the whole thing normally. Then pause the film at several points: the beginning, the last frame with lipstick, the first frame without it, the last daytime, the first nighttime, the last in the studio, and the first in the living room. Compare these points with the original. Finally, listen to the soundtrack separately. If the result ends slightly earlier than the source, the image shift relative to the audio may occur only at the final statement.
| Check | What to look for | Typical fix |
|---|---|---|
| Identity | Are the face, hair, clothing, and microphone consistent after each background change? | Add a better portrait or profile; remove conflicting images. |
| Hands | Is the object only in the right hand, and is the left empty? | Indicate the grip and a negative rule for the second hand. |
| Boundary 4.000 s | Is there no “ghost” of the lipstick in the first frame after the change? | Shift the boundary to a readable gesture or make a local fix in the edit. |
| Night in the studio | Do the dark window, warm sources, and shadow create one logic of light? | Describe night sources separately; do not rely solely on the bright reference. |
| Living room | Does the background maintain geometry during camera movement, even at the edges? | Simplify the reference or break the task into shorter segments. |
| Sound and end | Do speech, gesture, and length still match? | Compare audio waves in the editor; trimming or synchronization should be done consciously. |
Do not fix everything with a longer prompt. If only the lipstick flickers, focus on the reference of the object, hands, and interval 0–4 s. If the issue is only the studio at night, clarify the lighting and remove unnecessary descriptions of other parts. In challenging material, it’s reasonable to make two shorter runs and assemble them in the edit. One run saves operations but accumulates several sources of error.
What to do if the result deviates from the plan?
- The lipstick disappears too early or too late: check the film's time format and use the frame number. Do not declare accuracy that the generator does not provide; you can set the final boundary in the editor.
- The face changes in the living room: place the reference of the person higher in the map, describe the continuity of identity in each interval, and use a clearer photo of the face.
- The studio goes dark, but it’s still day outside: name the state of the window and light sources. “Night” is a set of visible features, not a single brightness value.
- The prop passes through fingers: choose a source with a less abrupt gesture or a product reference with proportions similar to the object being replaced.
- The new background “floats”: check if the film has quick rotations or coverings. A shorter segment and simpler room usually help maintain geometry.
How to develop this method
After a successful exercise, you can transfer the same structure to variants of products, clothing, or scenery. Keep the time table, change the reference map, and introduce one new variable at a time. When advertising a product, watch out for logos and text in post-production – video models can still distort captions. When using a real person, use their image and voice only with consent. Also, keep the source files and the version of the prompt to be able to recreate decisions during corrections.
If you are just starting with the whole process image → film → editing, read our Soul 2.0, Seedance, and Genjutsu guide. If you need to better plan the shot before swapping, an explanation of focal lengths and framing in AI film will also be helpful. And if you already have your own recording from a phone, go to our practical guide from recording to Object Swap.
Comments (0)
No comments yet. Be the first!