
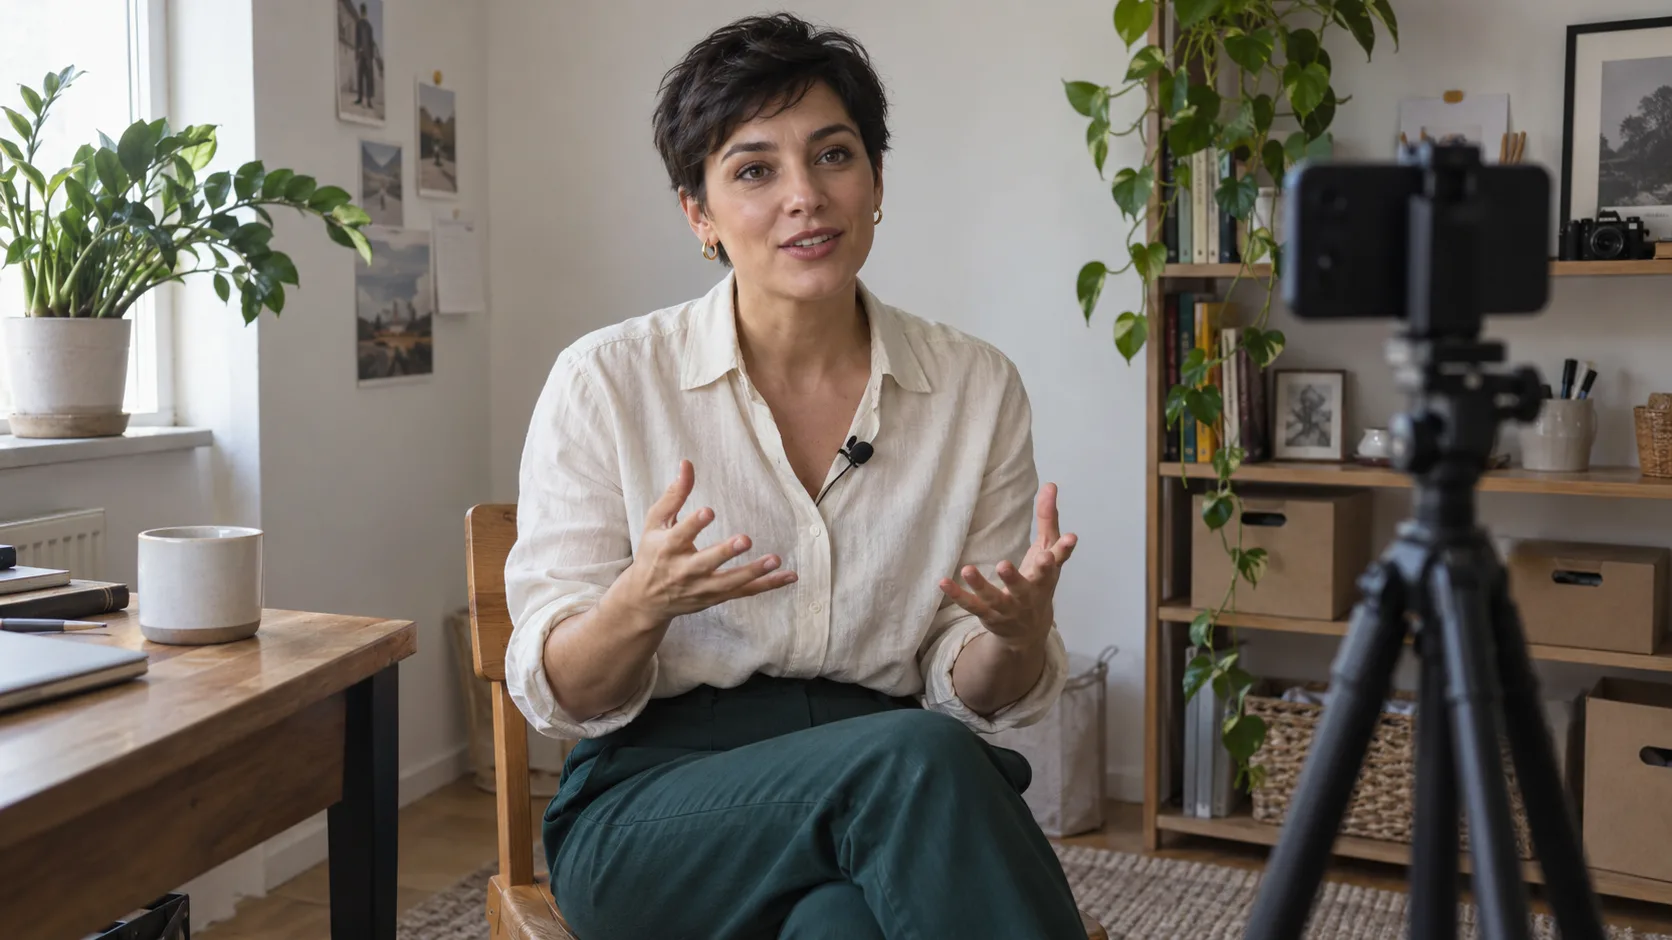
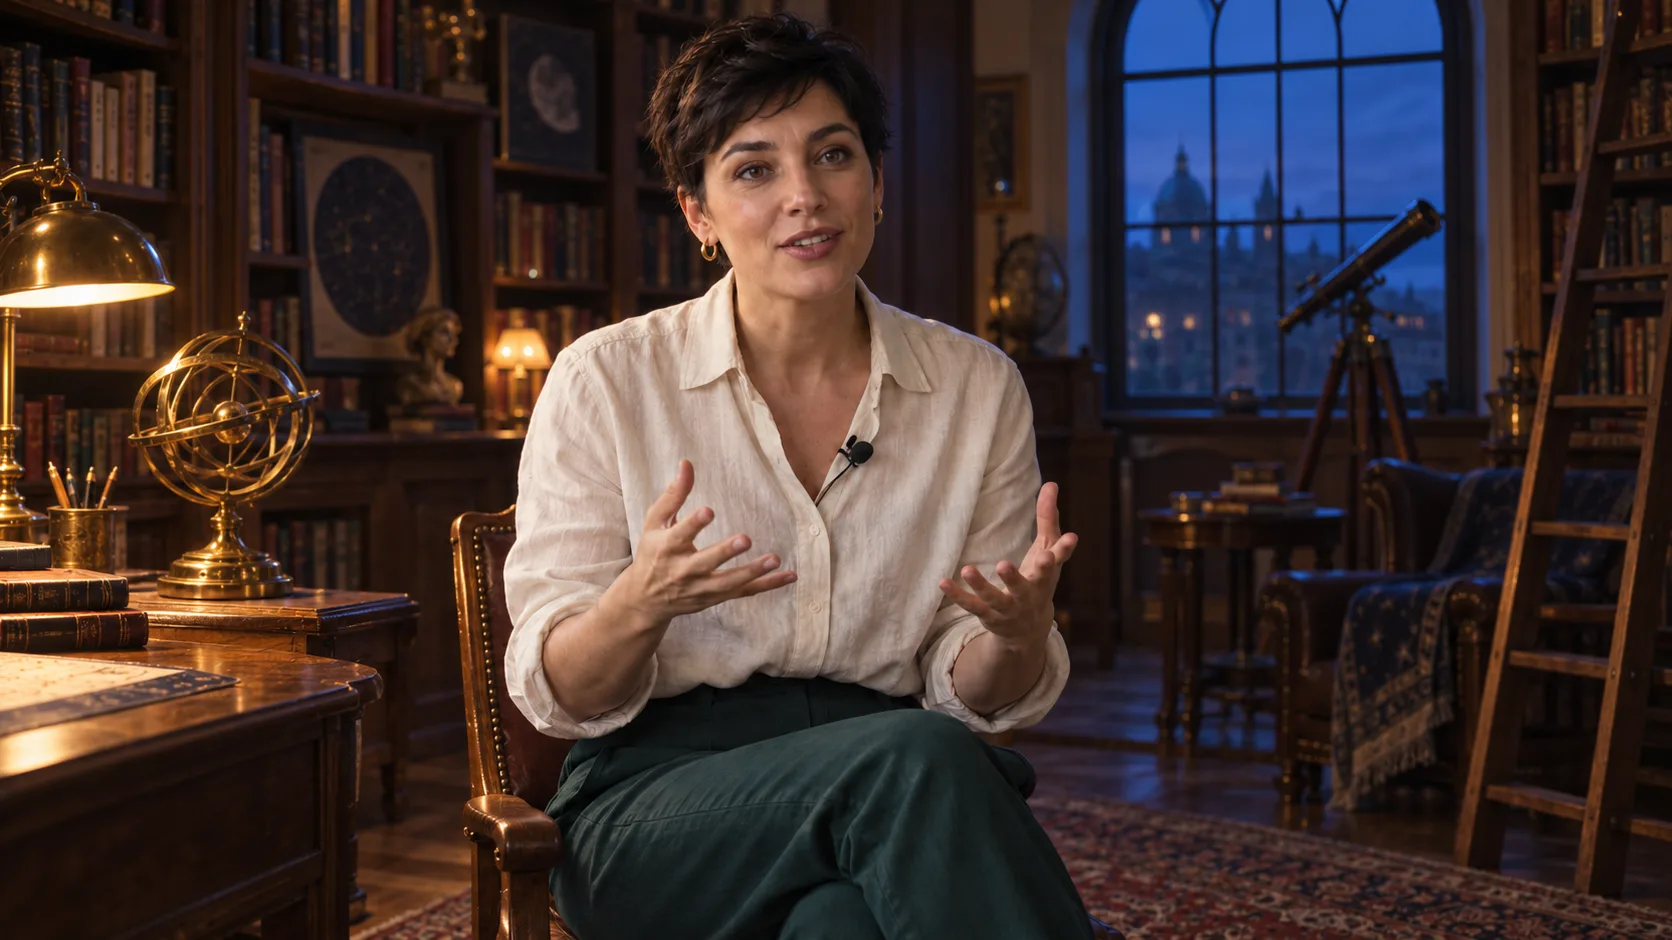
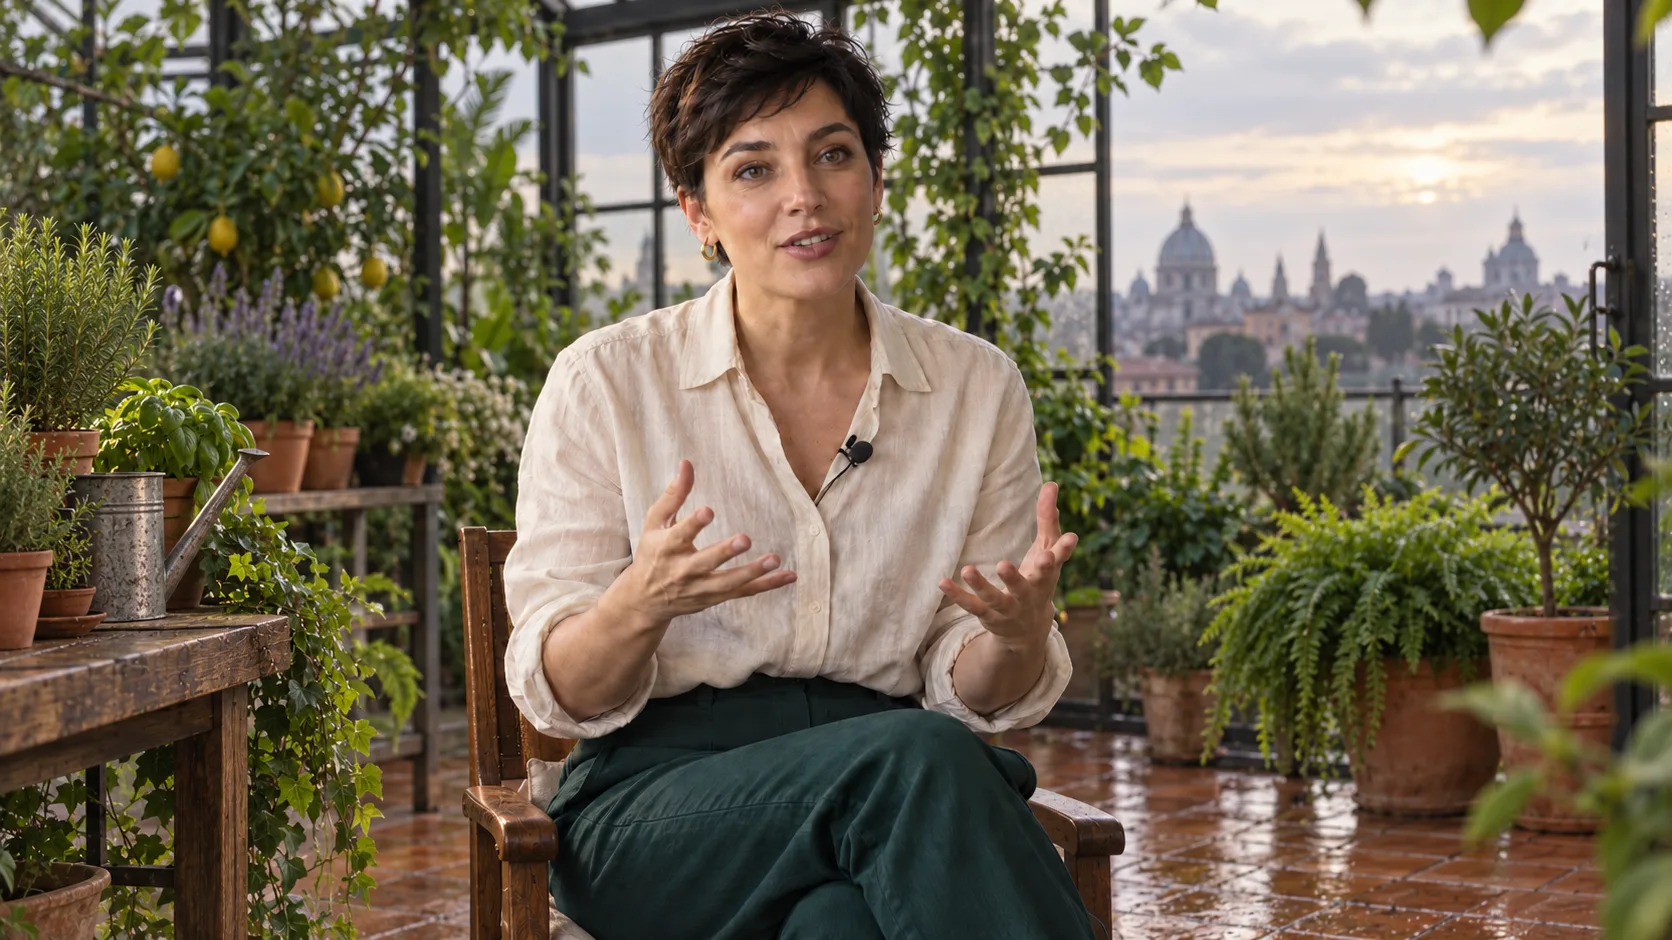
One recording of a person speaking to a phone can become a series of shots from a new location. First, you change the space in Higgsfield Genjutsu, then in Seedance 2.5 Edit, you plan cuts and other camera angles. We will demonstrate this with an original example: an ordinary office will transform into an observatory library, and then into a rooftop greenhouse.
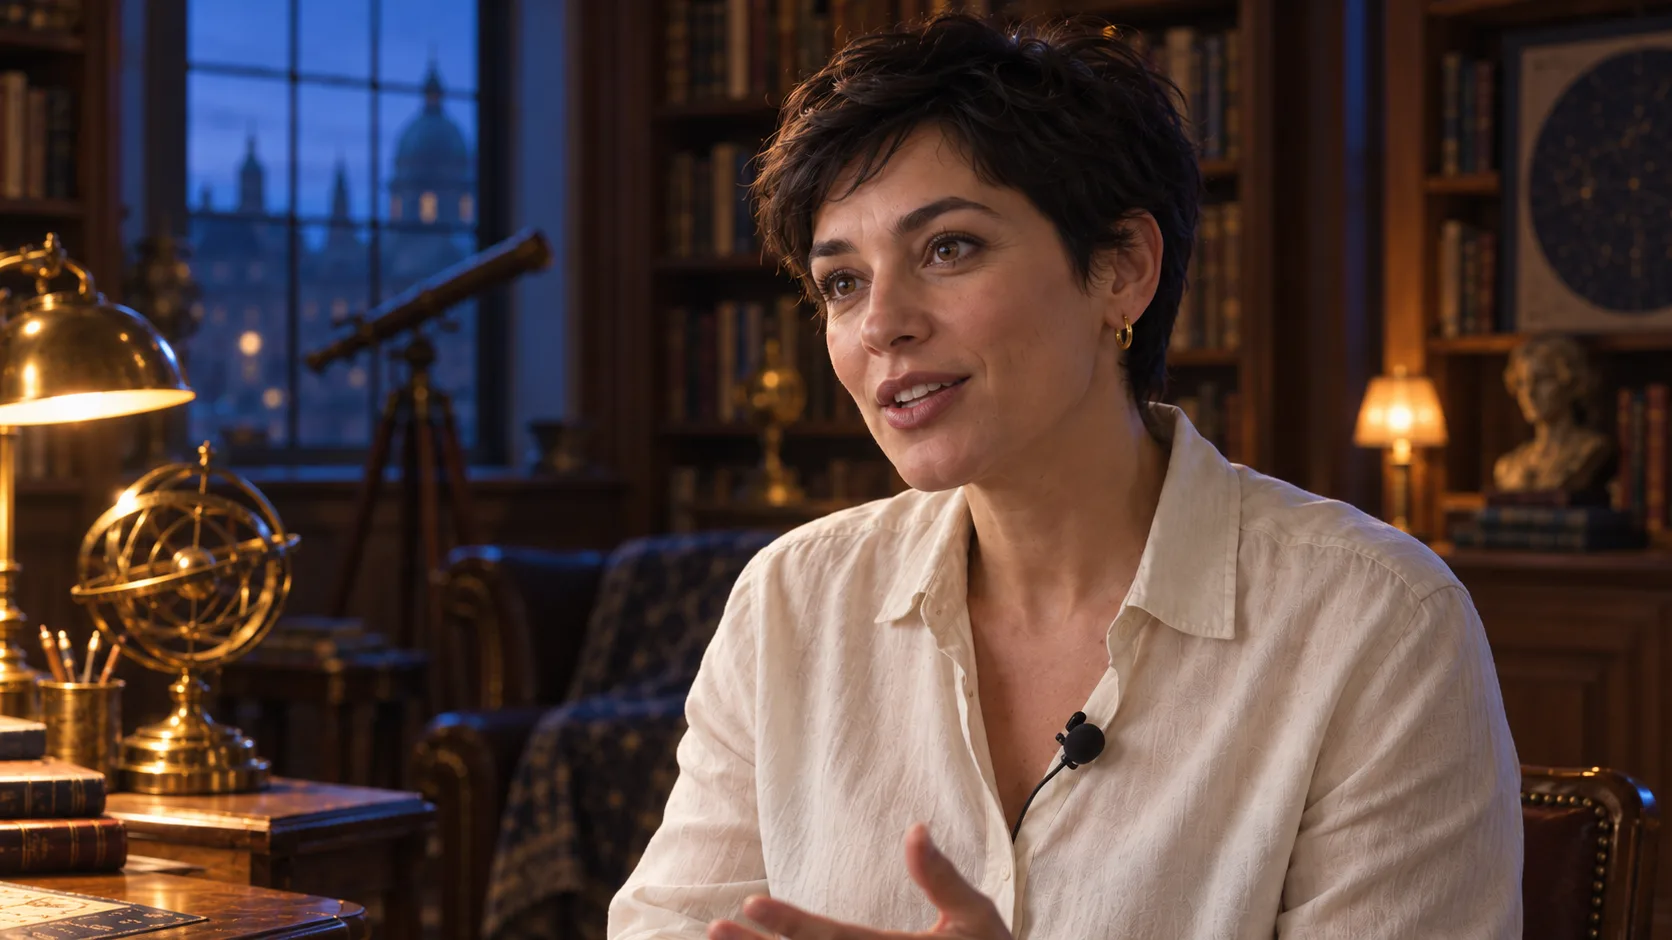
The illustrations below show the intended look of the scenes, not frames from the finished film. The interface, limits, and availability of models may change; checked on October 4, 2026.
What Are We Actually Doing?
The source recording is a plan of the performance: it includes words, gestures, pace, and lip movement. Genjutsu is meant to replace the background and match the lighting of the person. Seedance 2.5 Edit aims to propose a closer, wider, or side view from the same performance. It is still AI generation, so "keep exactly" is an instruction, not a guarantee. After each stage, you will check the face, lip movement, and sound.
Prepare Three Things
- Film: 10–25 seconds of one person speaking in a stable frame. A tripod, phone support, or shelf will suffice. Leave some space above the head and on the sides.
- Portrait: a well-lit, current face of the person looking roughly towards the lens. This is a reference for identity, not a promise of likeness.
- Description of the New Location: a few specific elements and light sources. "Cozy interior" says little; "green lamp on the left, tall window with blue twilight in the back" gives the model a layout of the scene.
Before recording, mute the air conditioning and notifications. Do not use a strong beautifying filter. Record in even light; when half the face disappears in deep shadow, the new AI light will have fewer details to recreate. Choose a short speech with natural pauses: these are places for future cuts.
Stage 1: Replace the Room in Genjutsu
Open Higgsfield, select Genjutsu, and the edit mode for an existing film. Add the recording as @Video 1, and the portrait as @Image 1, if the interface uses these labels. Check the thumbnails before pasting the prompt. Set the length according to the uploaded clip and the available quality option.
Edit the image @Video 1. Keep the same adult woman from @Image 1, her clothing, scale in the frame, order of gestures, facial expressions, lip movement, timing of speech, camera setup, and original sound.
Change only the location and lighting: a cozy library of an old observatory at twilight. Behind the character are tall bookshelves, a brass globe, and a round window with a cool navy sky. To the left, a green table lamp casts soft warm light on her cheek; the window provides a gentle blue edge of light on her hair. The bookshelves stand a few meters behind her, maintaining perspective and depth. The character remains seated in the same position. No additional people, captions, or logos. The location and light are consistent throughout the clip.
If you want to have two locations in one film, generate two versions of the same segment with separate descriptions of the rooms. Then edit them with a hard cut on a pause or a clear gesture. You can also record a finger snap, but check the frame of finger contact and sound synchronization carefully. Do not ask the model to guess all transition moments at once if you can select them in the editor.
Stage 2: Plan Other Angles Before Running Seedance
A new angle reveals parts of the face and room that were not present in the source film. The model must fill these in, so it is safest to start with a slight change: medium shot, three-quarter close-up, gentle angle. Extreme profile, view from behind, or ten cuts in twenty seconds increase the risk of changing the face and gestures.
In the editor, note the start time of each sentence. Make a list of 4–6 shots, each lasting at least a few seconds. Cutting on a pause or at the beginning of a new phrase is easier to read. In our 18-second example:
| Time | Shot | Purpose |
|---|---|---|
| 0–3.5 s | Medium shot, slightly from the left | Introduce the character and the library. |
| 3.5–7 s | Close-up from the right | Focus on the first thought. |
| 7–10 s | Close-up, stationary | Read the reaction and hand gesture. |
| 10–14 s | Wider shot | Show the second location if a cut occurs here. |
| 14–18 s | Close-up | End on the face. |
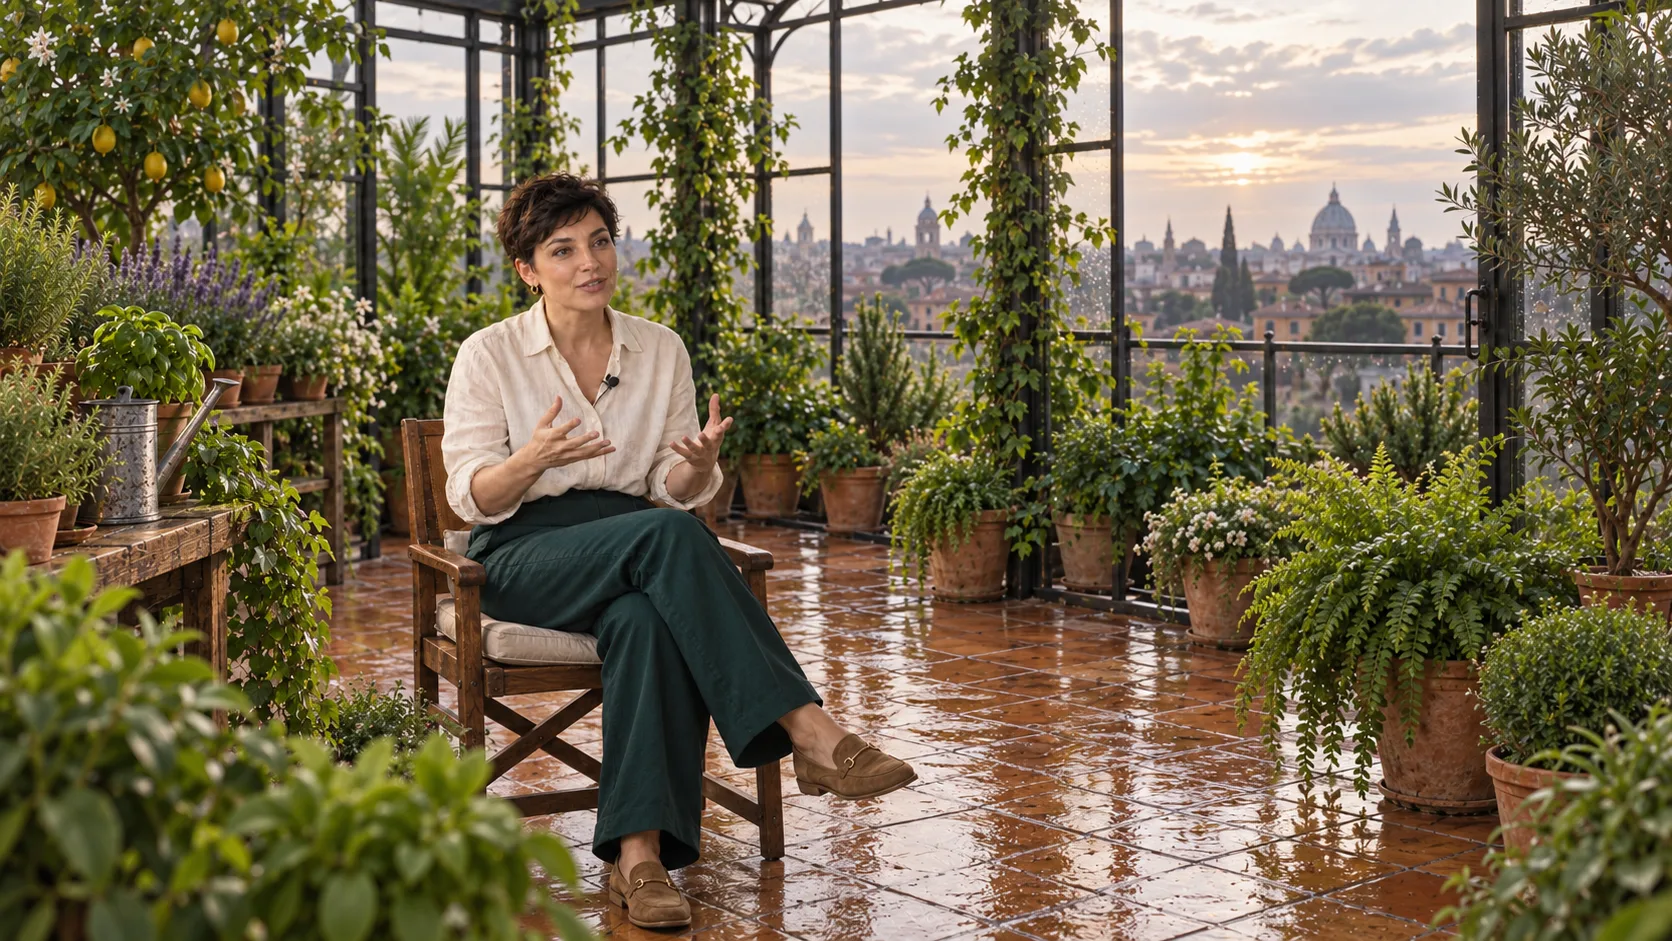
With a wider shot, the environment must have continuity. Note the elements that remain on the same side of the person. In the greenhouse: steel arches in the back, a table with seedlings on the right, low sun on the left. Do not ask for multiple camera movements in one short shot.
Stage 3: Edit Angles in Seedance 2.5 Edit
Select Seedance 2.5 Edit in Higgsfield and upload the result from stage one. Add the portrait if the model allows for reference. Features and lengths may differ between the panel and API; the official Seedance documentation describes editing existing video, but check the current options in your account before starting.
Edit @Video 1 as one continuous speech of the same person. Keep the order of words, voice, timing of gestures, facial expressions, clothing, and locations visible in the source. @Image 1 serves only as a reference for the face. The original sound should run continuously through the cuts.
0–3.5 s: medium shot, camera slightly from the left, no movement. 3.5–7 s: hard cut to close-up from the right; very slow lateral movement. 7–10 s: hard cut to close-up of the face, camera stationary, hand remains visible during the gesture. 10–14 s: hard cut to a wider shot, showing the location existing in @Video 1. 14–18 s: hard cut to close-up, calm finale.
Each shot shows exactly the same moment of the performance from @Video 1. Gestures do not repeat after the cut. No new lines, characters, transitions, captions, zooms, or changes in time. If the source material does not have a location change, maintain one location throughout all shots.
How to Check the Result
- Compare the beginning of each sentence in the source and the result. The lips and words must match.
- Stop the film just before and after each cut. The face, clothing, and hand position should maintain continuity.
- Check the direction of the lamp and the arrangement of furniture. After changing the angle, the lamp should not suddenly switch to the other side of the room.
- Listen to the whole thing. If the generated sound has artifacts, mute it in the editor and overlay the track from the source, after checking synchronization.
- If the character changes in an extreme shot, replace it with a closer angle to the source or a stationary shot.
To start, one location and three shots are sufficient. Once this variant works, add a second room. A broader guide on background and object swapping can be found in our Genjutsu guide for phone recordings. If you want to consciously choose the width of the shot, also read our guide on focal lengths.
Comments (0)
No comments yet. Be the first!