The story behind the recipe
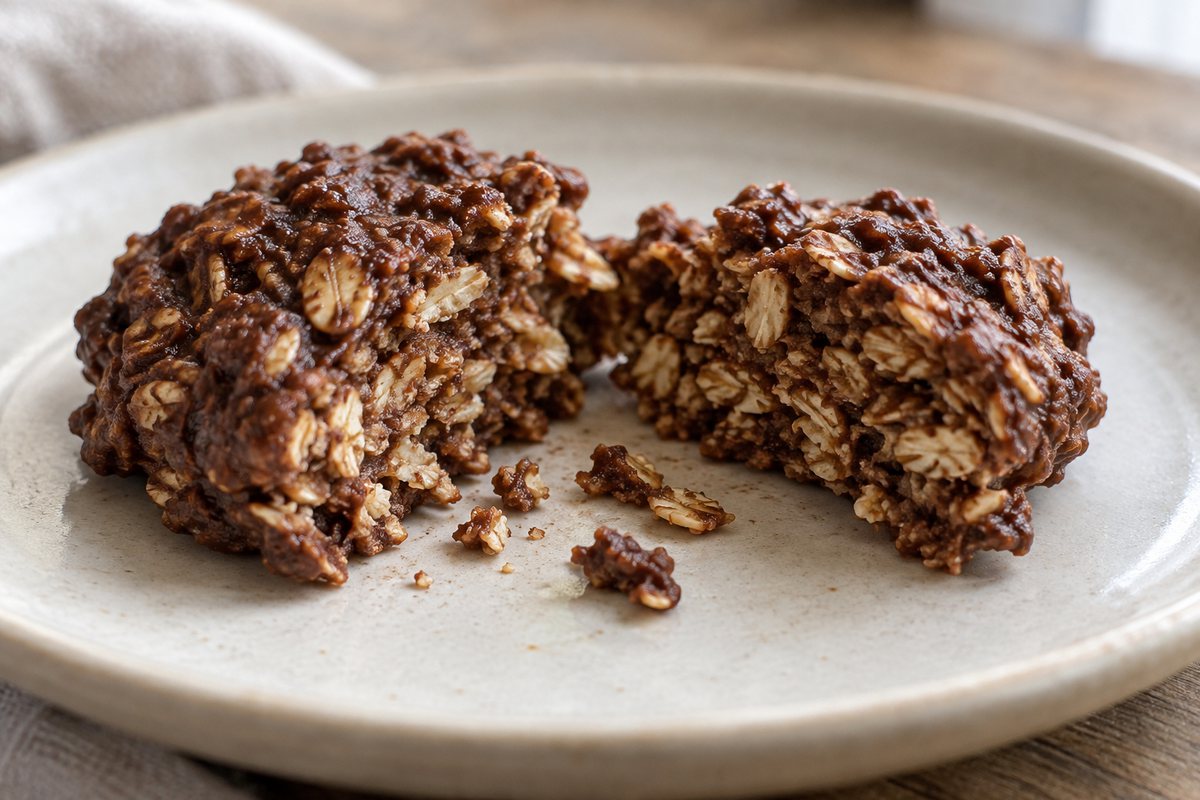
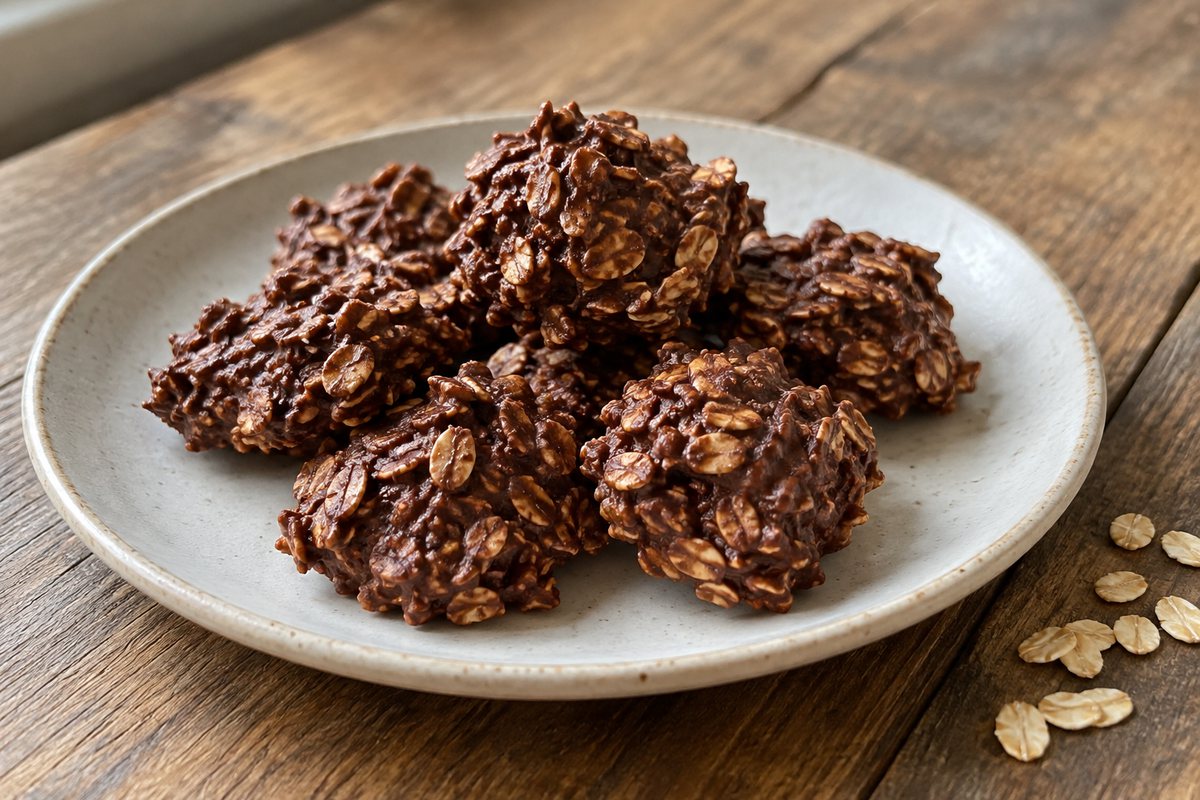
These simple cocoa mounds evoke memories of school practical classes: a short list of ingredients, one pot, mixing with a spoon, and spooning portions onto paper. They require no oven, eggs, or flour. After cooling, the mixture binds the oats, yet their texture remains distinctly noticeable. They are often referred to as no-bake oatmeal cookies or cocoa hedgehogs.
The school association also appears in the recollection of the author of the blog Apparecchiamo?, who in 2015 described similar cookies as a taste of childhood and connected their first preparation with practical classes. This is a personal account, not an archival instruction applicable in every school. We do not know the proportions used by a specific teacher in the early 1980s. This recipe is a home recreation of such cookies, not a verified copy of a school recipe.
In this version, the chocolate flavor comes from natural cocoa combined with butter, milk, and sugar. There is no need to add a chocolate bar or ready-made frosting. We use fine quick oats and form irregular mounds, which after a short cooling period go into the fridge. Most of the stated time is for cooling; the actual preparation takes about 20 minutes.
Ingredients
For about 20 small cookies
-
250 g quick oats (fine, without sugar and flavors; plus possibly 1 tablespoon for adjustment)
Abroad: quick oats; quick-cooking porridge oats; zarte Haferflocken - 150 g sugar (regular white; affects taste and consistency)
- 100 g butter (preferably unsalted; not margarine for spreading)
- 100 ml milk (plus possibly 1 tablespoon for adjustment)
-
25 g natural cocoa (unsweetened, sifted)
Abroad: unsweetened cocoa powder; Backkakao - ½ tsp (2.5 ml) vanilla extract (optional)
- 1 pinch salt (optional)
Method, step by step
-
Measure the ingredients and prepare a tray or baking sheet that fits on the fridge shelf. Line it with baking paper. Prepare a pot with a thick bottom, a spoon, and a small whisk. Weigh 250 g of fine quick oats; leave an extra tablespoon only for possible consistency adjustment, do not add it right away.
-
Sift the cocoa into a bowl, pour in part of the 100 ml of milk, and thoroughly mix it into a smooth paste. Pour the remaining milk into the pot, add 100 g of diced butter, 150 g of sugar, and an optional pinch of salt. The prepared paste will help combine the cocoa with the rest of the ingredients.
-
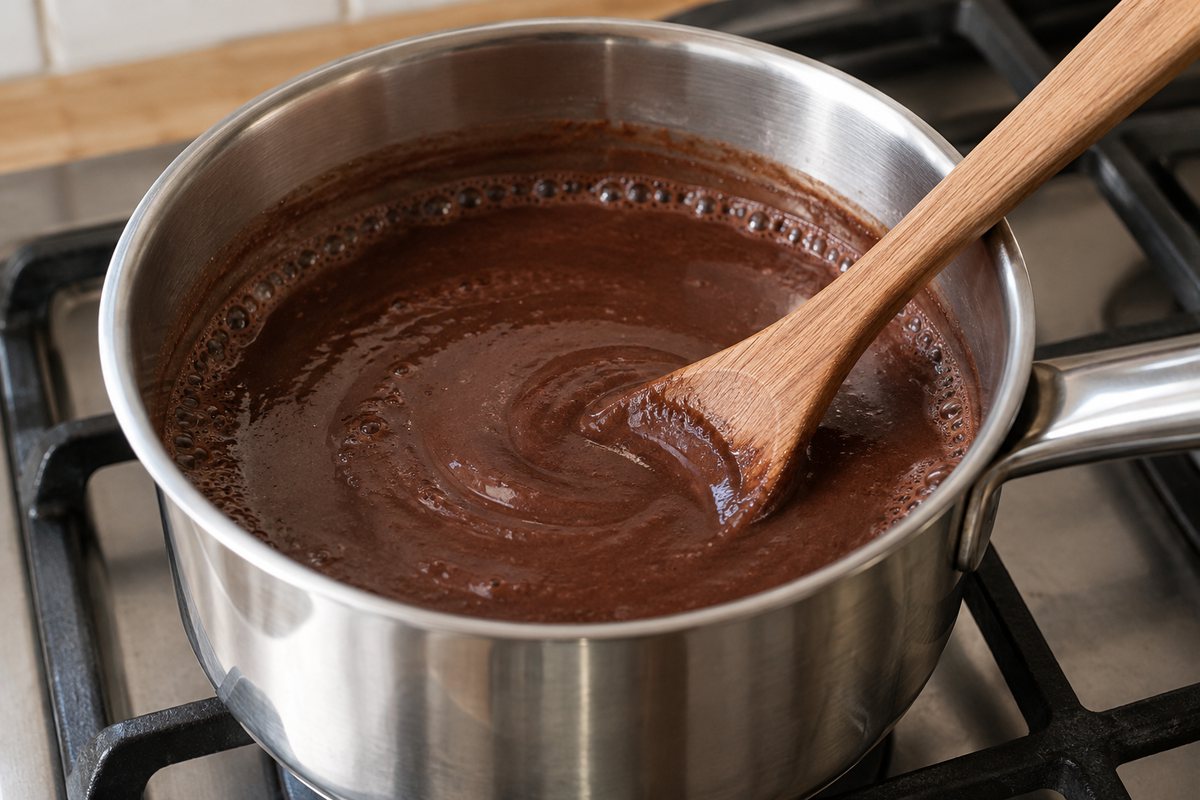
Heat the milk, butter, and sugar over low heat, stirring until the butter melts. Add the cocoa paste and stir at the bottom until the mixture is uniform. Bring to a gentle boil and cook for about a minute, still stirring. Do not evaporate for too long and do not increase the heat too much: cocoa can easily burn.
-
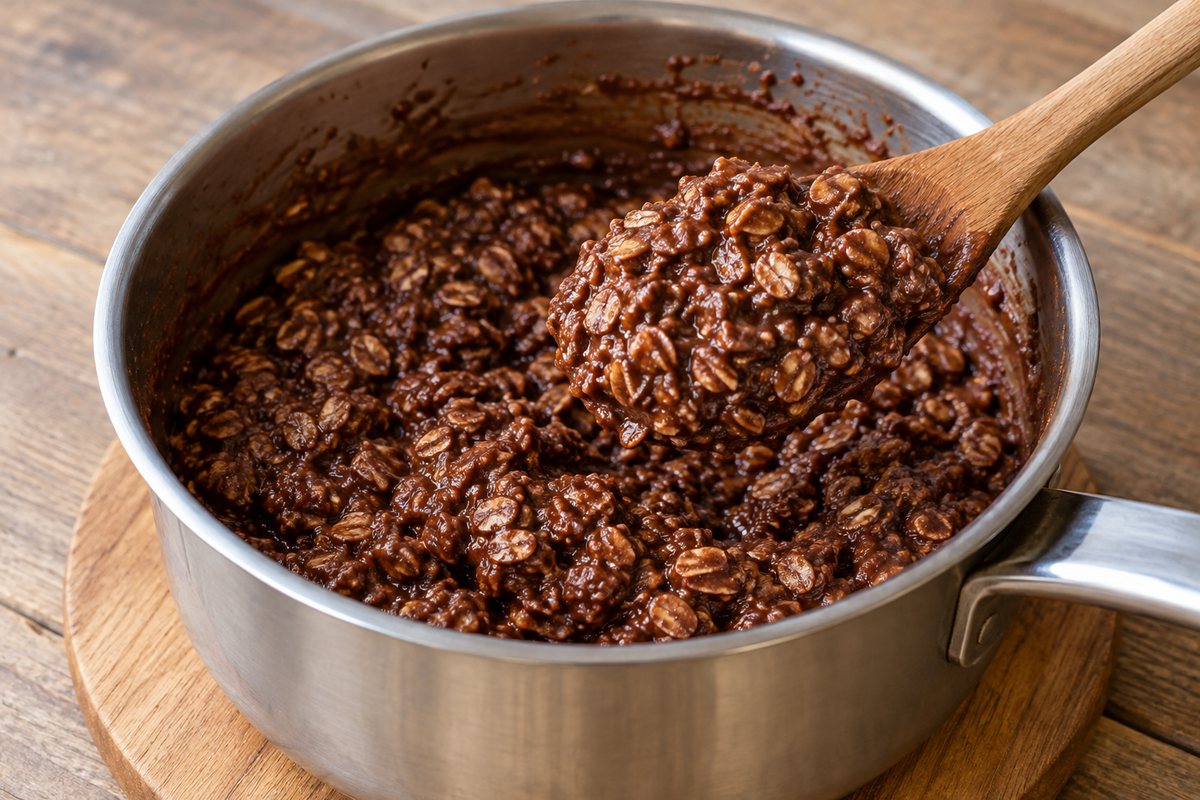
Remove the pot from the heat. If using vanilla, add it now. Pour in the measured quick oats and immediately mix thoroughly with a spoon, scraping the mixture from the bottom and sides. Each oat should be coated with the cocoa base. In the basic variant, we do not add chocolate, eggs, flour, or nuts.
-
Set the mixture aside for 5–10 minutes to allow the oats to absorb some moisture and for the mixture to start thickening. Check with a spoon: the mixture should hold in a small mound. If it still clearly spreads, wait a little longer, then possibly add a tablespoon of oats. If it is dry and crumbles, mix in a tablespoon of warm milk.
-
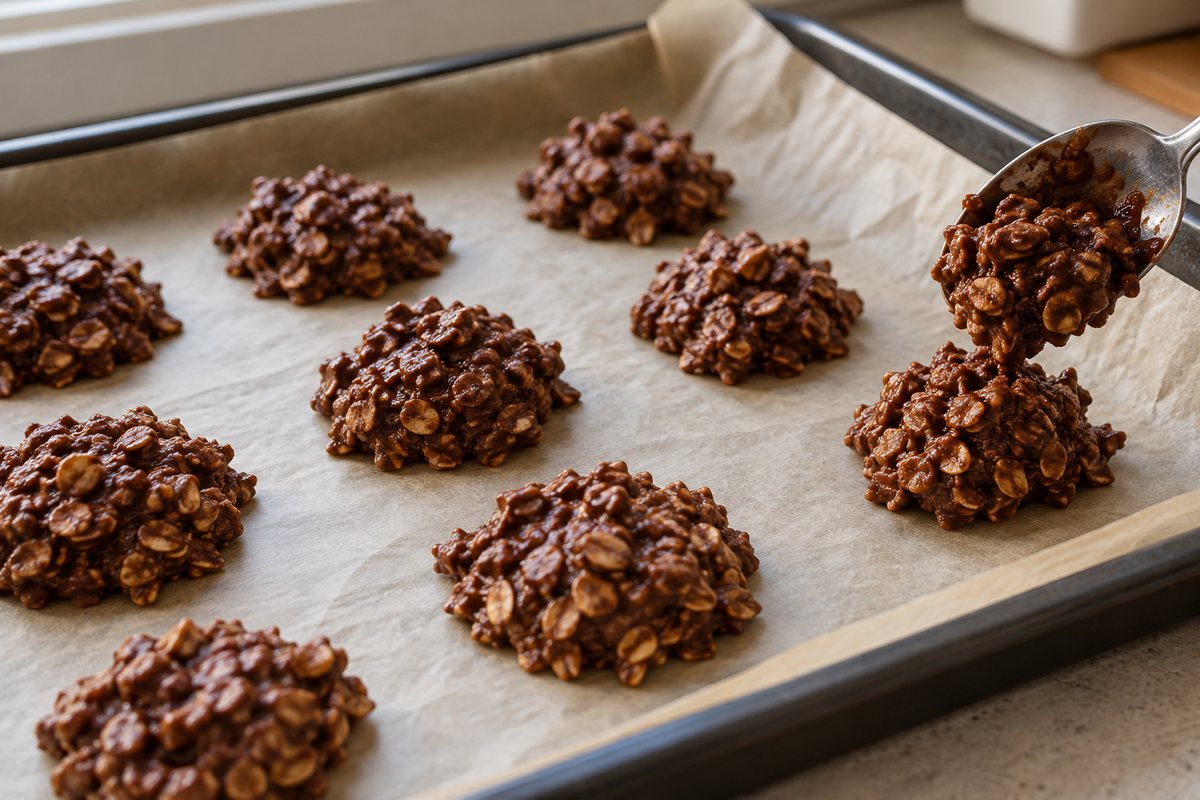
When the mixture is no longer very hot, use two teaspoons to scoop about 20 small mounds onto the prepared paper. You can gently press them with a spoon, but leave them irregular in shape with visible oats. Do not touch the hot mixture with your fingers. There is no need to leave large gaps, as the cookies will not rise in the oven.
-
After a short cooling period, place the tray in the fridge for about 3–4 hours until the hedgehogs are clearly firm and can be removed from the paper. Do not wait longer than 2 hours to cool them after preparation. Different oats and small adjustments to the amount of milk affect the setting time; if the center is soft, leave the cookies in the cold longer.
-
Gently remove the cooled hedgehogs from the paper by lifting from underneath. Transfer to a sealed container, possibly separating layers with paper. Serve shortly after taking them out of the fridge. Inside, the oats should remain visible, bound by the cocoa mixture; these are dense, slightly soft mounds, not crunchy cookies from the oven.
Photos