
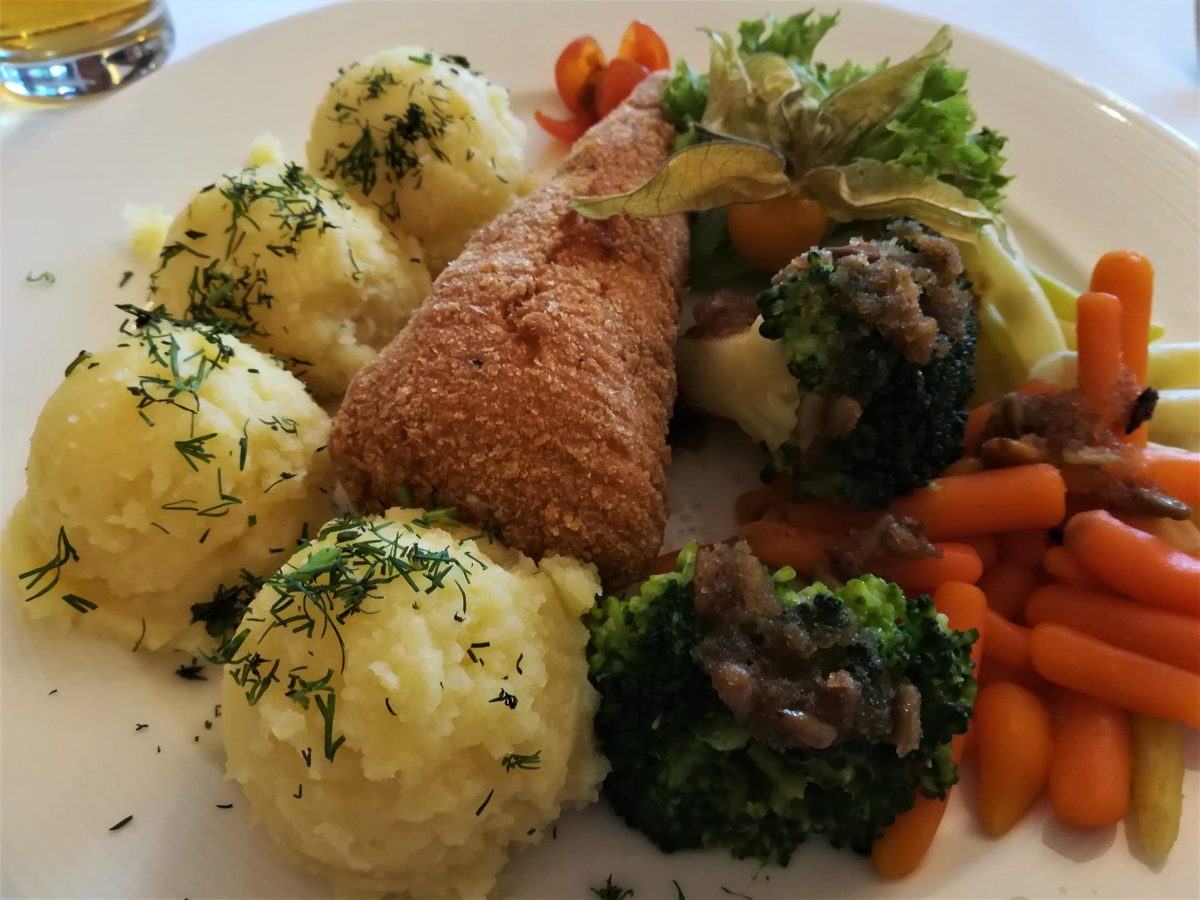
The story behind the recipe
The name sounds French: côtelette de volaille simply means chicken cutlet. However, according to available sources, the dish originated from the east and was created by chefs in Tsarist Russia, and in most languages, it is referred to as chicken Kiev (in Russian "котлета по-киевски", in Ukrainian "котлета по-київськи"). In Poland, as noted by English-language sources, the old French name has been preserved, often adapted to "dewolaj".
The exact origin is uncertain, and its history is poorly documented. In the Russian cookbook by Pelagia Aleksandrova-Ignatieva, published between 1899 and 1916, there is a recipe for côtelette de volaille with a filling containing butter. Some authors attribute the invention to French chefs, such as Carême, who spent a few months in St. Petersburg in 1818, but this has not been confirmed. Culinary historian William Pochlebkin wrote that the cutlet was created in 1912 at the St. Petersburg Merchant Club, and the name "Kiev-style" was given by a Soviet restaurant in 1947. Meanwhile, "Kiev cutlets made of chicken or veal" already appeared in a collection of recipes from 1915, based on a Moscow publication from 1913-1914. In Kyiv, it is said that it was invented in the early 20th century at the Continental Hotel restaurant.
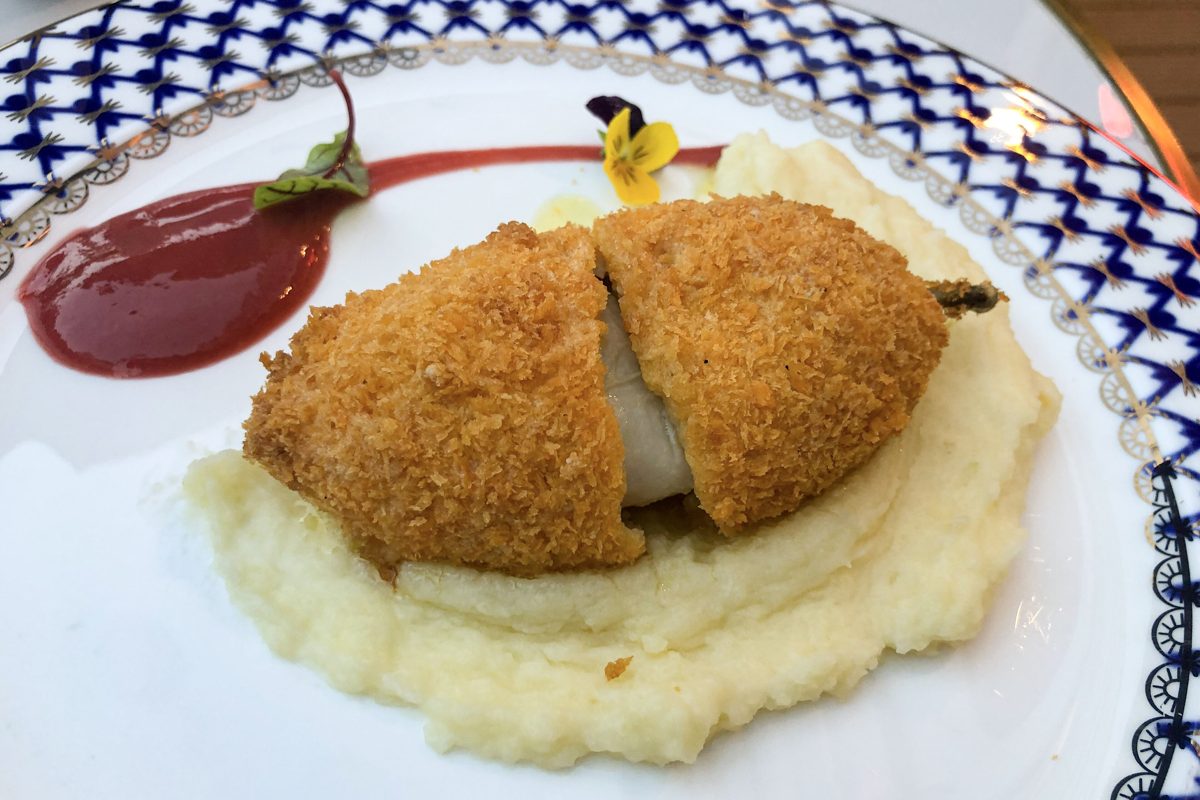
According to available sources, the original chicken Kiev contains only dill butter or herb butter with garlic inside, while versions with cheese or ham are later variations, similar to cordon bleu. Traditionally, a wing bone with a paper decoration was left attached to the meat, but boneless versions are now common. It is often stated that the cutlet was a staple on Polish restaurant menus after the war, but we have not found a reliable source for this. In the United States, chicken Kiev has been appearing in newspapers since 1937, and a recipe was printed by The New York Times in 1946.
Ingredients
Dill Butter
-
100 g butter (soft, unsalted)
Abroad: USA and UK: unsalted butter; Germany: ungesalzene Butter -
0.5 bunch dill (finely chopped)
Abroad: dill; Germany: Dill - 1 tsp (5 ml) lemon juice
- 1 clove garlic (not necessarily)
- pinch of salt
Cutlets
-
4 pcs single chicken breast fillets (about 150–180 g, skinless)
Abroad: USA and Canada: boneless skinless chicken breasts; UK: chicken breast fillets; Germany: Hähnchenbrustfilet - 2 tbsp (30 ml) lemon juice
- salt and freshly ground pepper
Breading
-
3 tbsp (about 23 g) all-purpose flour
Abroad: all-purpose flour; UK: plain flour; Germany: Type 405 - 3 pcs eggs
-
120 g breadcrumbs (about 1 cup)
Abroad: plain breadcrumbs or panko; Germany: Paniermehl / Semmelbrösel
For Frying
-
1 l clarified butter or neutral oil (enough for the cutlets to float)
Abroad: ghee / Butterschmalz; oil: canola oil, vegetable oil, rapeseed oil, Rapsöl
Method, step by step
-
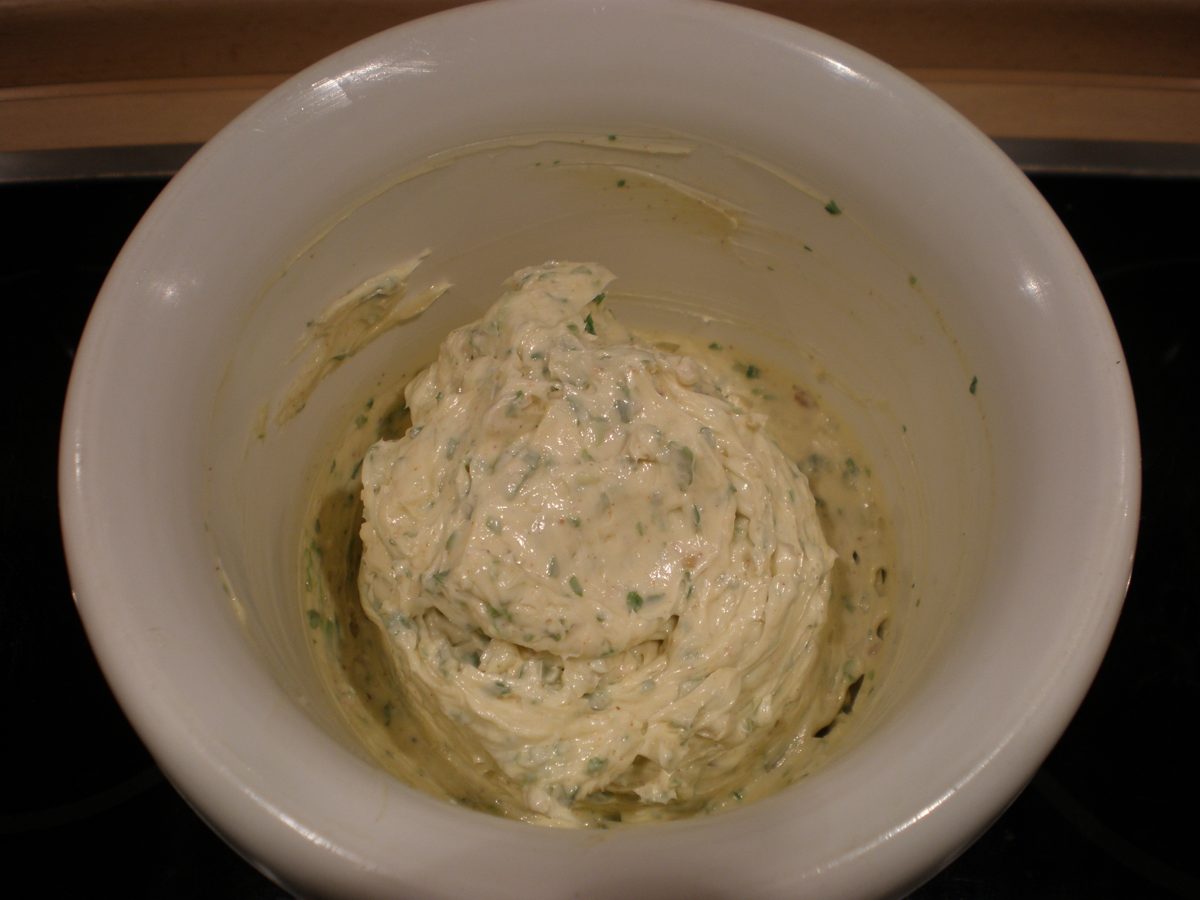
Prepare the dill butter. In a bowl, mix the soft butter with the chopped dill, a teaspoon of lemon juice, a pinch of salt, and, if you like, a crushed clove of garlic. Divide into 4 equal parts, shape each into a short roll on plastic wrap, slightly shorter than the fillet, wrap it up, and place in the freezer for about 20 minutes until firm.
-
Remove the membranes and tendons from the fillets, rinse them, and dry thoroughly with paper towels. If the fillet is thick, slice it horizontally like a book, not cutting all the way through, about 1 cm (½ inch) from the end, and open it up.
-
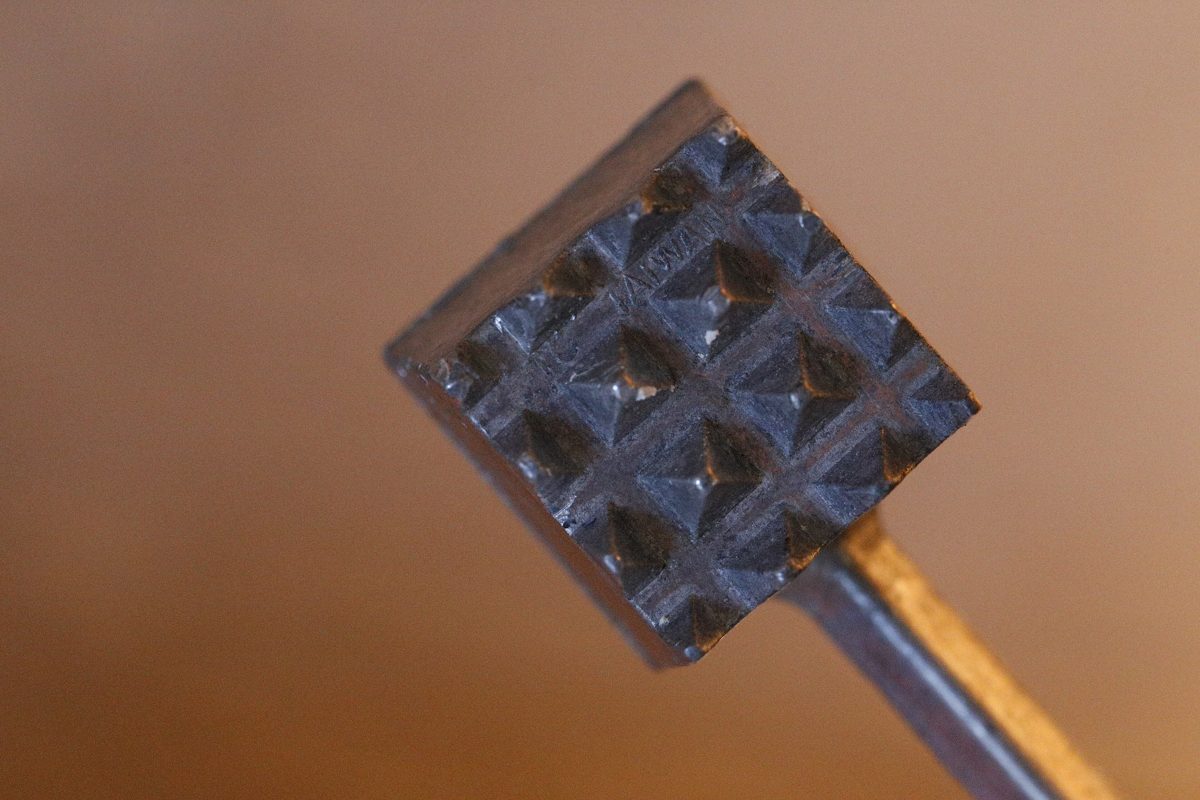
Place the fillet between two sheets of plastic wrap and flatten it with the flat side of a meat mallet into a thin, even piece. Gently hit from the center to the edges to avoid making holes in the meat, as the butter will leak out through them. Sprinkle the meat with salt and pepper on both sides, drizzle with 2 tablespoons of lemon juice, and refrigerate for an hour.
-
On each piece, near the longer edge, place the frozen roll of butter. Fold the shorter sides of the meat over the butter, like when making stuffed cabbage, and tightly roll it up. There should be no gaps: the butter must be completely sealed inside the meat.
-
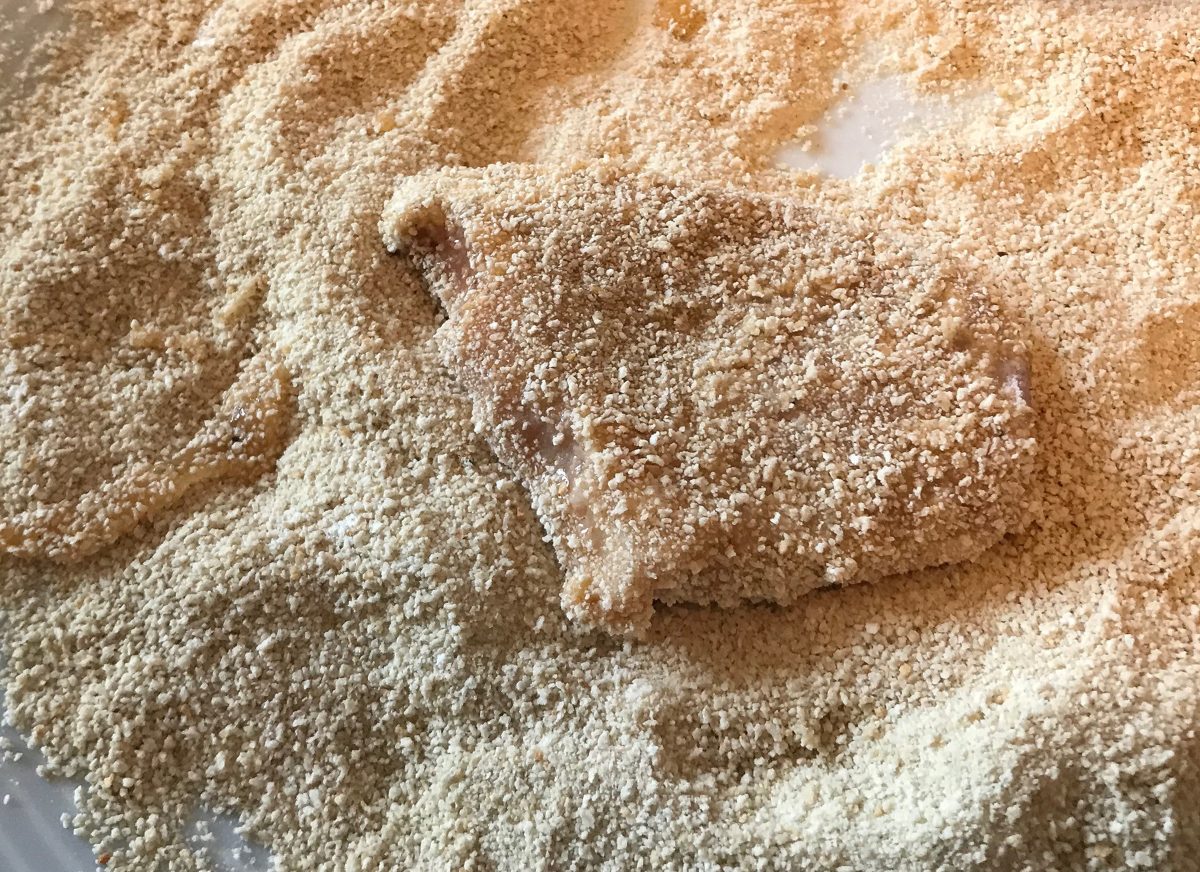
Prepare three plates: one with flour, one with beaten eggs, and one with breadcrumbs. Coat each roll in flour and shake off the excess, then dip in the egg and coat with breadcrumbs. Dip in the egg again and coat with breadcrumbs, pressing the coating with your hands, especially on the ends of the roll.
-
Place the breaded cutlets on a plate seam side down and refrigerate for an hour. A cold roll holds its shape better, and the breading won’t fall off in the fat.
-
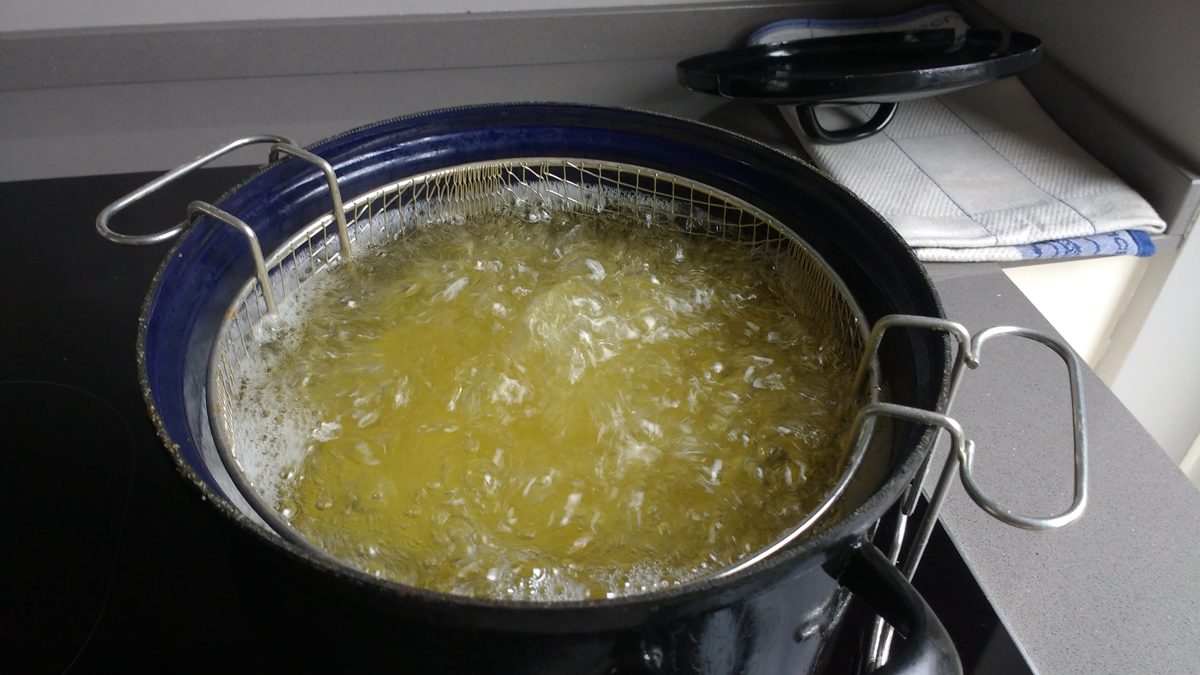
In a wide, deep pot, heat the clarified butter or oil to 175°C (345°F); check the temperature with a thermometer. Fry two cutlets at a time using a slotted spoon for about 7 minutes, turning them until they are evenly golden. After each batch, wait for the fat to reach 175°C (345°F) again.
-
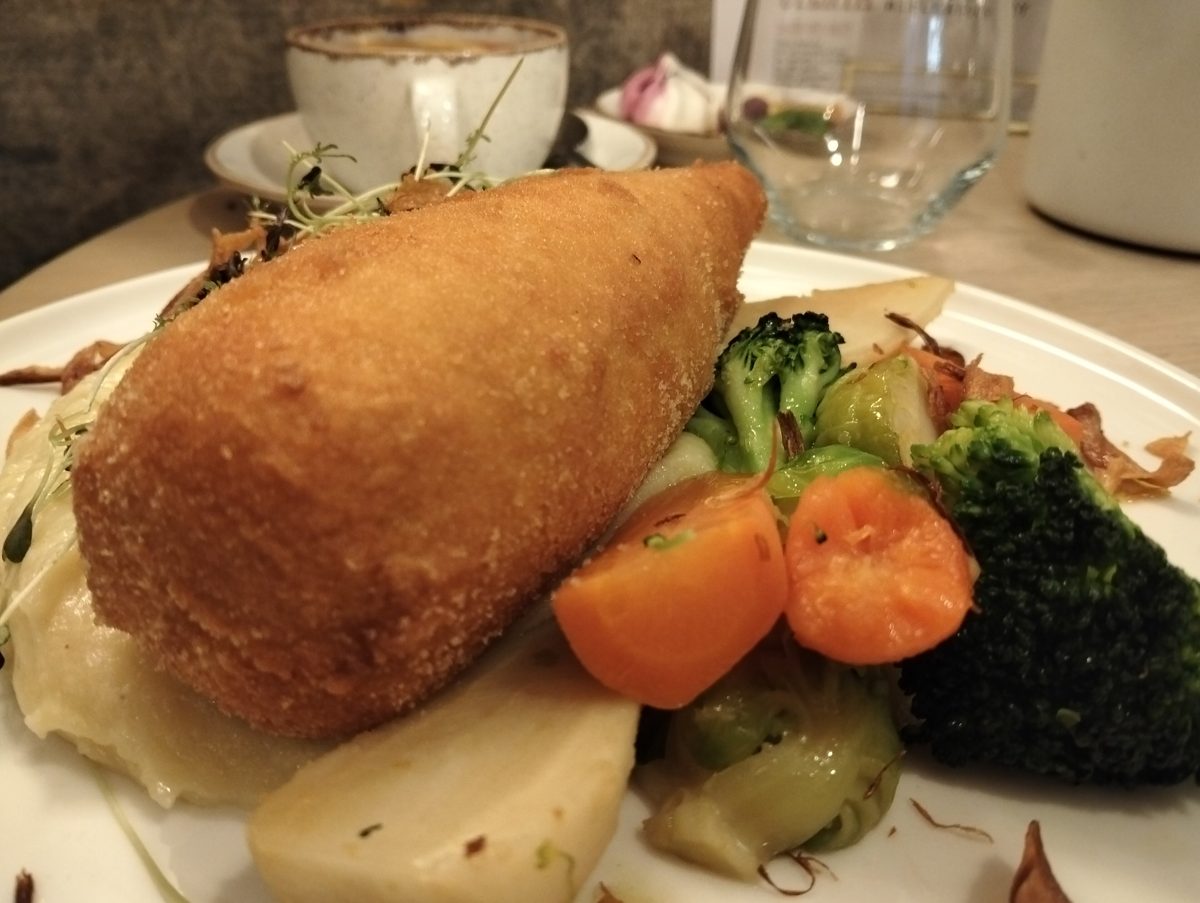
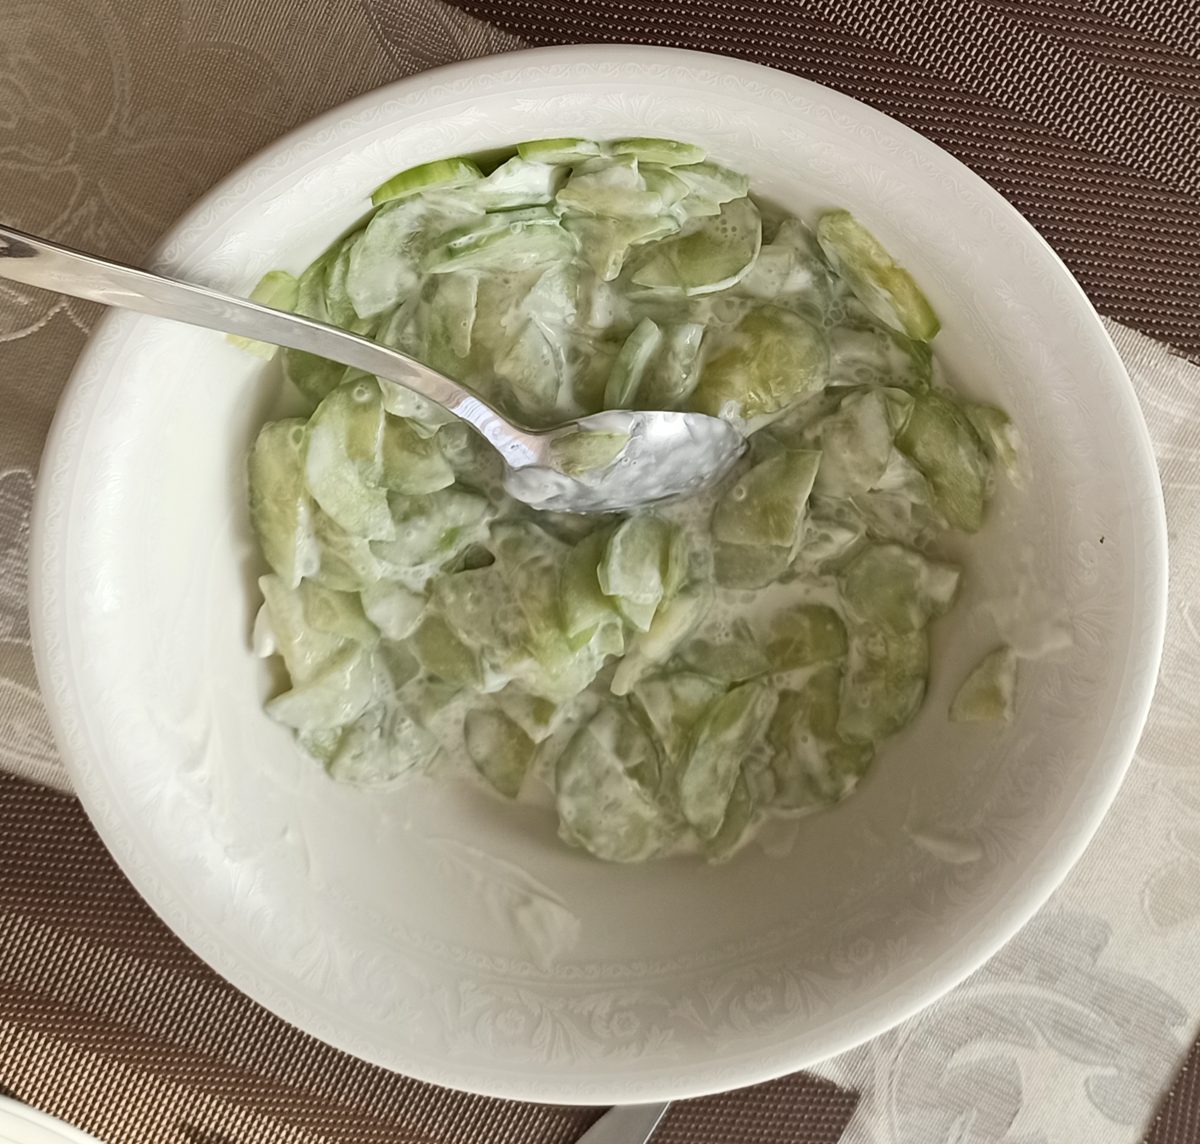
Remove the cutlets to a rack or paper towel. Insert a thermometer into the side of the meat, avoiding the butter inside: it must show at least 74°C (165°F). If it shows less, continue frying the cutlet on low heat or finish it in the oven and check again. Serve immediately with potatoes with dill and cucumber salad, and cut only on the plate.
Photos
Comments (0)
No comments yet. Be the first!